OASIS features three methods for creating contacts. Users can create contacts from the Contacts page, from the Manufacturer page, and from the Customer page.
Creating from the Contacts Page
1. Navigate to the Contacts page and select "File."
2. Hover over "New," and select "New Contact."
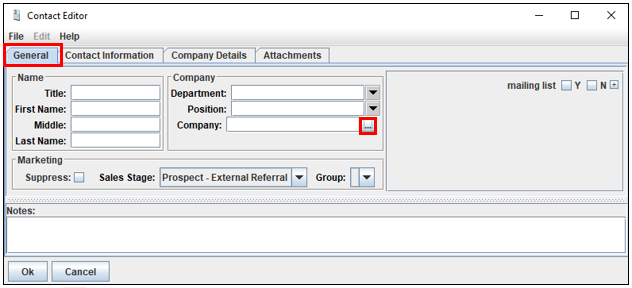
3. The "Contact Editor" window will open.
4. Under the "General" tab, enter the the contact's name, and company details.
5. Select the  button to select the contact's company association.
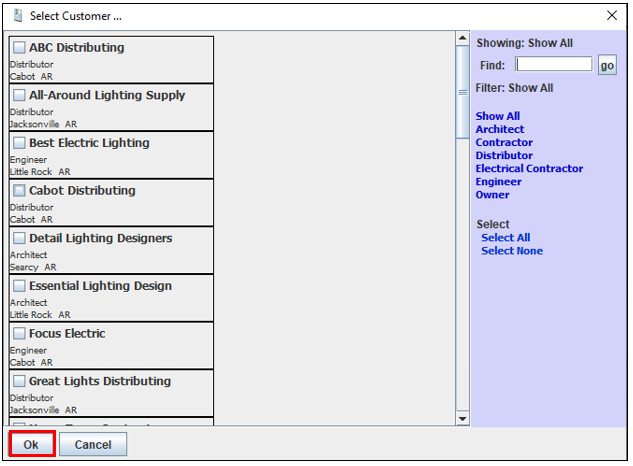
6. Select "OK." A list of suggestions will appear.
7. Select the needed suggestion, then select "OK."
8. Enter marketing information under the Marketing section.
- Suppress- this will suppress this contact from any printing listings.
- Sales Stage- this allows users to set up various stages for a prospective customer and report by sales stage.
- Group- this allows users to create Groups for associated contacts.
9. Navigate to the "Contact Information" tab and enter needed information. Note: check "Use Company Address" to default.

10. Navigate to the "Company Details" tab.
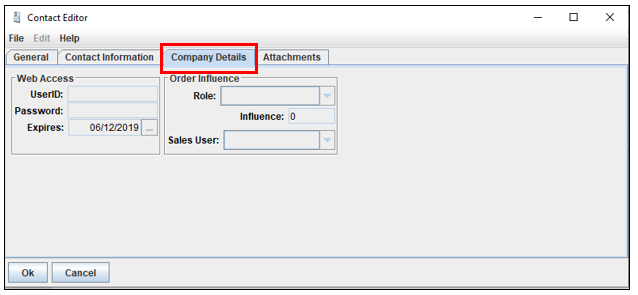
11. If the contact is associated as a customer, add "OASIS Web Portal" access for this contact.
12. Enter a user ID, password, and expiration Date.
13. Select a "Role," and "Influence Percent," and a "Sales User." For more information, click here.
14. Select "OK."
Creating from the Manufacturer Page
1. Navigate to the Manufacturer page and double-click on a manufacturer.
2. The "Manufacturer Editor" window will appear. Select the "Contacts" tab.
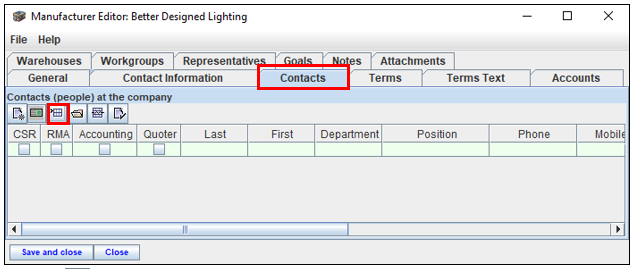
3. Select the  button to add contacts. Enter any needed information.
- CSR- check this box to set the contact as the default to receive emailed orders.
- RMA- check this box to set the contact as the default to receive emails about returning products.
- Accounting- check this box to set the contact as the default to receive emailed invoices.
- Quoter- check this box to set the contact as the default RFQ.
4. Select "Save and "Close"
Creating from the Customer Page
1. Navigate to the Customer page and double-click on a customer.
2. The "Customer Editor" window will appear. Select the "Contact" tab.
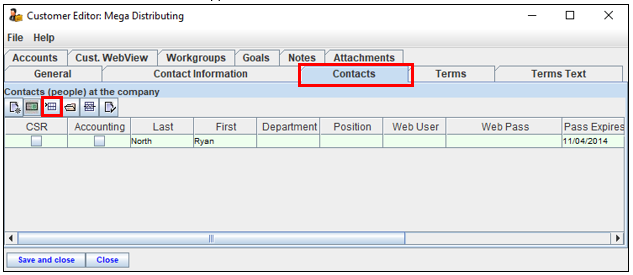
3. Select the  button to add contacts. Enter the needed information.
- CSR- check this box to set the contact as the default to receive emailed orders
- Accounting- check this box to set the contact as the default to receive emailed invoices
4. Select "Save and Close."
Comments
0 commentsPlease sign in to leave a comment.