OASIS collects information about all contacts and allows users to group these contacts. OASIS features the Group Tool, which allows users to create one or multiple groups and then filter contacts by these groups. However, new O4 developments will soon replace this process.
Creating a Group
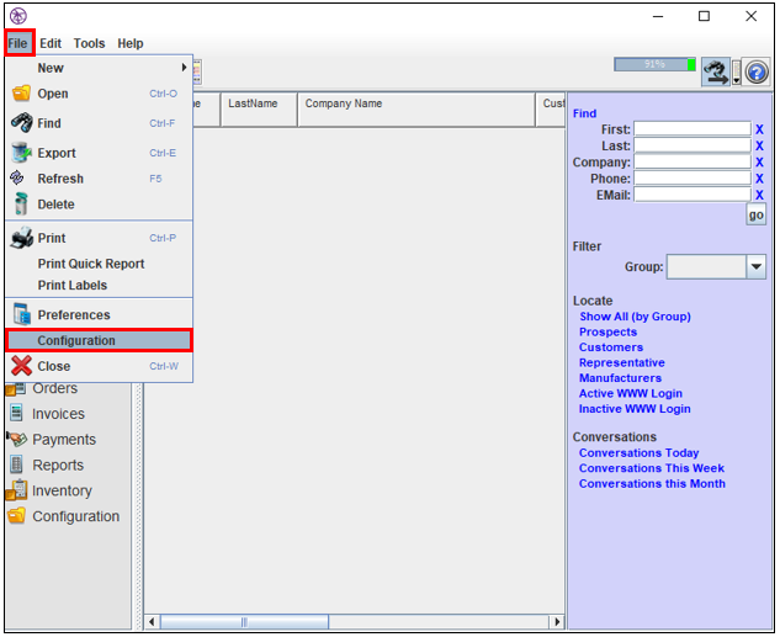
1. Navigate to the Contacts page, and then select "File."
2. Select "Configuration."
3. The "Configure Contact Data" window will appear.
4. Select the "Group" tab.
5. Enter the "Group" and a "Description."
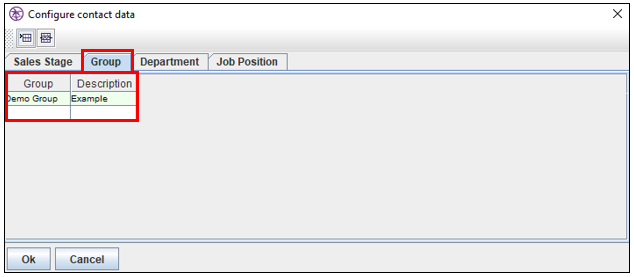
6. Select "OK."
7. Refresh OASIS to allow these changes to take effect.
Assigning Contacts to a Group
1. Navigate to the Contacts page and double-click on a contact.
2. The "Contact Editor" window will appear.

3. Under the "General" tab, navigate to the "Group" drop-down menu and select a group. This contact now belongs to the group.
4. Select "OK."
Producing a Group List
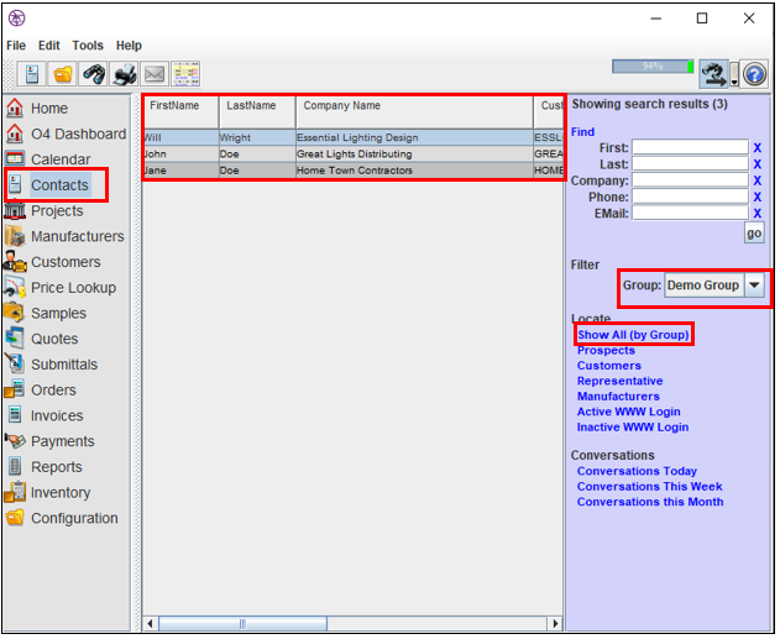
1. Navigate to the Contacts page and select the "Group" from the drop-down menu.
2. Select "Show All (by Group)." This will produce a list of contacts belonging to that group.
3. To print, select "File," and then select "Print."
Comments
0 commentsPlease sign in to leave a comment.