OASIS allows users to create orders for items stored in their local inventory. When entering orders, users can mix and match items that are to be fulfilled from local stock and ordered from the manufacturer.
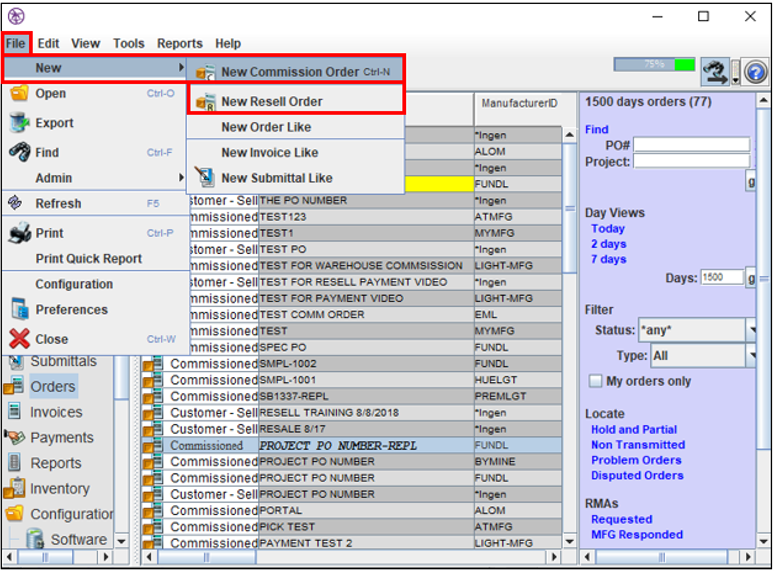
1. Navigate to the Orders page.
2. Select "File," and then hover over "New."
3. Select "New Commission Order" or "New Resell Order." Note: create a commissioned order for consignment items and a resell order for resell items.
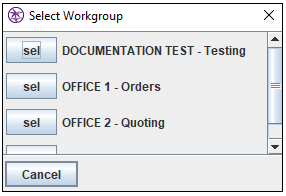
4. The "Select Workgroup" window will appear if you have workgroups in your company. Select a workgroup.
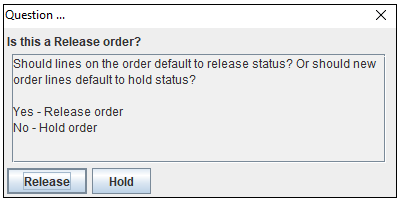
5. The "Question" window will appear.
6. Select "Release" or "Hold."
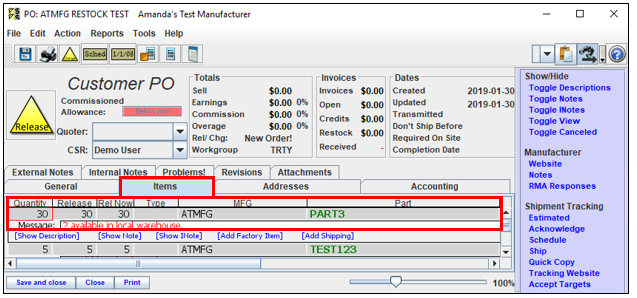
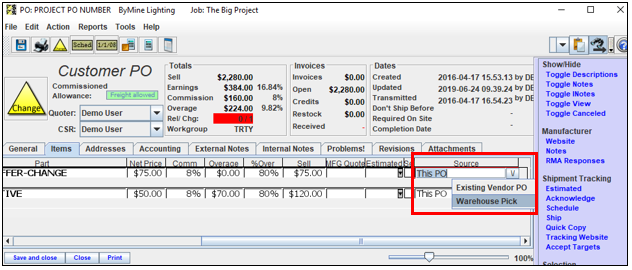
7. The "Customer PO" window will appear. Select the "Items" tab.
8. Select the  button to edit the order.
9. Select the "Add Parts" link to add new parts.
10. Enter part information as needed. A red hint will appear beneath the item, listing the inventory status.
11. To pick the part from local inventory, navigate to the "Source" column. Note: this is not enabled by default. To add columns to the bill of material, click here.
12. Select the  button, and then select "Warehouse Pick" from the drop-down menu. Note: the part must be available in your local warehouse to complete this process.
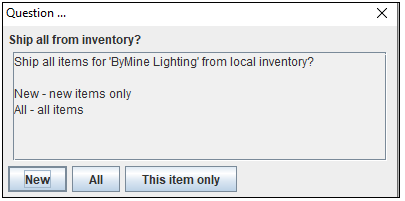
13. Repeat this process for as many parts as needed. Note: if you select "Warehouse Pick" for multiple parts, you may be prompted with the "Question" window.
14. Select "New," "All" or "This item only."
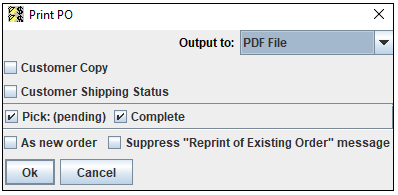
15. Select "Print." The "Print PO" window will appear.
16. Check the "Pick (pending)" box.
17. Check the "Complete" box.
18. Select "OK." This will print a bill of lading for you to give to the warehouse manager.
Comments
0 commentsPlease sign in to leave a comment.