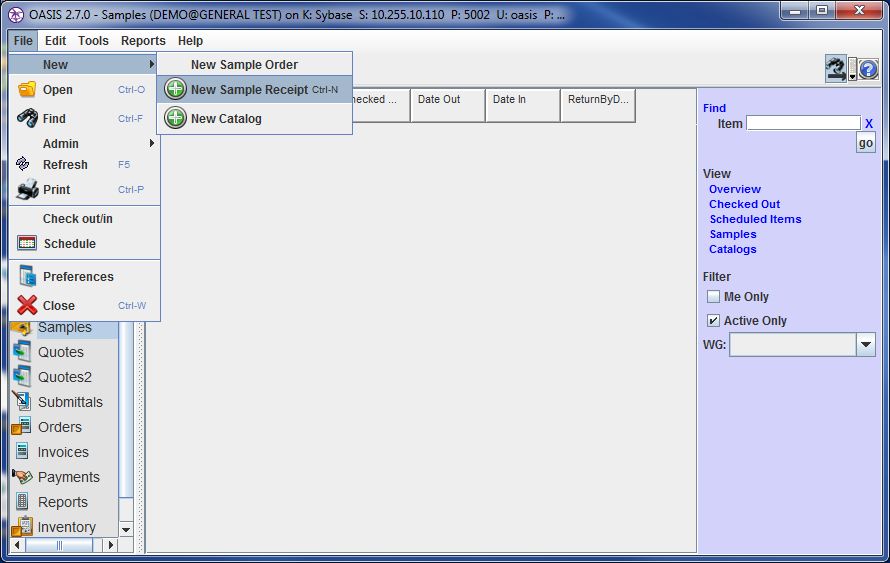
To receive a new sample, select the sample system in OASIS. Then select New-->New Sample Receipt.
Key information as needed. The only required information is the manufacturer and the part number (although it is common to use a description):
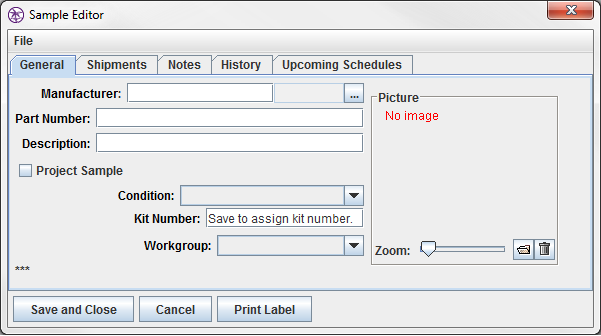
The fields and their meanings:
General
|
Manufacturer |
Represented brand |
|
Part Number |
Catalog number |
|
Description
|
Catalog description |
|
Project Sample |
Marks sample as project sample. |
|
Condition |
Condition of the sample – bigger numbers are better 1-10 |
|
Kit Number |
Kit number auto generated by OASIS. |
|
Workgroup |
For multi-office groups, this is typically a branch or office |
|
Picture |
It is possible to store a picture of the item |
Shipments
|
Received: Tracking Number SCAC Date Received |
Optional information: how the item was received |
|
Notification Date |
Date to notify or remind the administrators/yourself that the sample must be returned (normally before being charged for the sample). you could set it a week in advance of the Return Date giving you time to find the sample and ready it for return. |
|
Return Date |
Date the sample is to be returned by |
|
Return: Tracking Number SCAC Date Returned |
Date the item was returned and how. To pull an item from the sample inventory that is to be destroyed or given away, enter the date and “Destroyed” in the tracking number field. |
Notes:
Notes about the sample.
History
The history of where the sample has been.
Upcoming Schedules
Who has the item scheduled for checkout.
Notice
To return to this sample editor to change its entry information or return it to the manufacturer, you must have administrative rights in Samples. You must highlight the sample in the list and open it with File > Admin > Edit.
Comments
0 commentsPlease sign in to leave a comment.