The "Spec Status" column must be present when working with crossover parts in a quote. This column functions to show users what has been approved/ unapproved. It can also provide information on if this crossover was successful or not. By default, OASIS provides three statuses (Approved, Prior Approval, and VE). However, users may create more statuses as needed.
For more information about crossovers, click here.
Adding Spec Statuses
1. Navigate to the Projects page.
2. Select "File."
3. Select "Configuration."
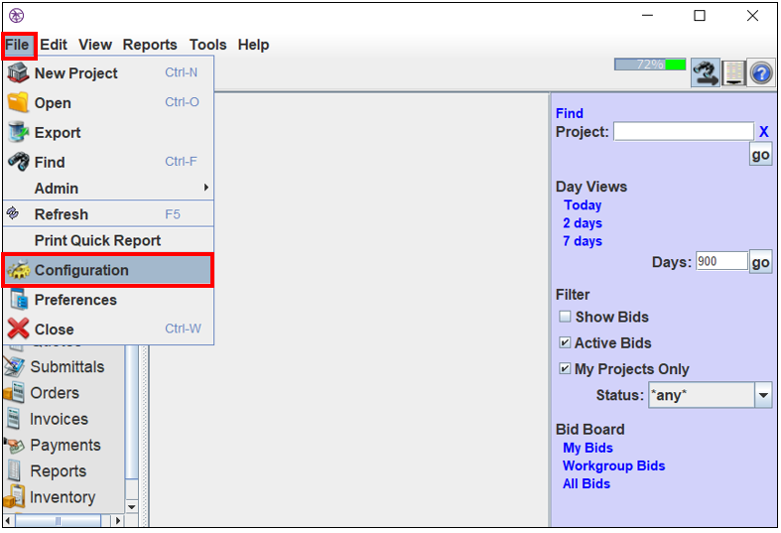
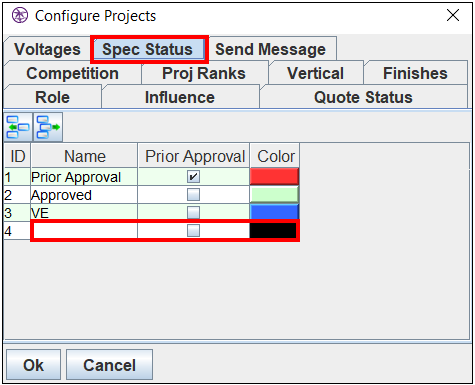
4. The "Configure Projects" window will appear.
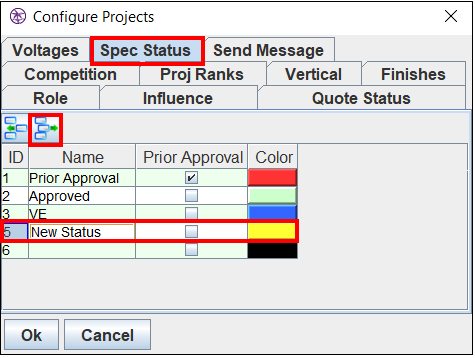
5. Select the "Spec Status" tab.
6. Under the "Name" columns, select the first blank row.
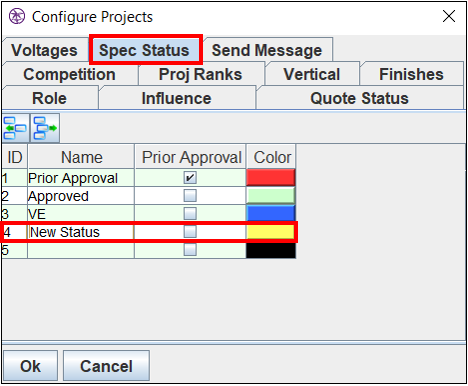
7. Add a status name.
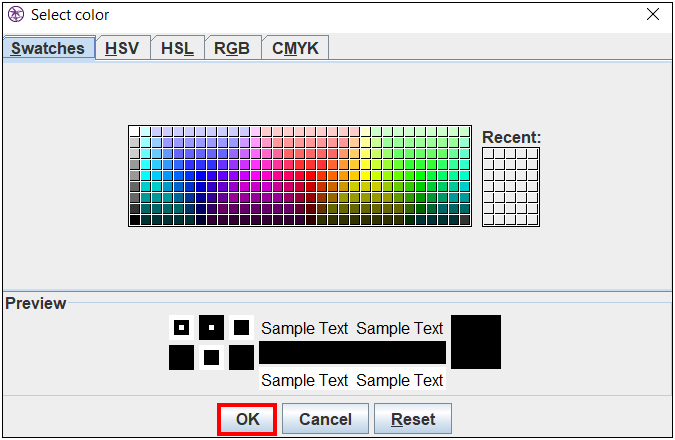
8. Under the "Colors" column, double-click on the needed color to change it.
9. The "Select Color" window will appear.
10. Select colors as needed.
11. Select "OK." The color code will change for the corresponding spec status.
12. In the "Configure Projects" window, select "OK."
Deleting Spec Statuses
1. Navigate to the "Configure Projects" window as shown in the previous section.
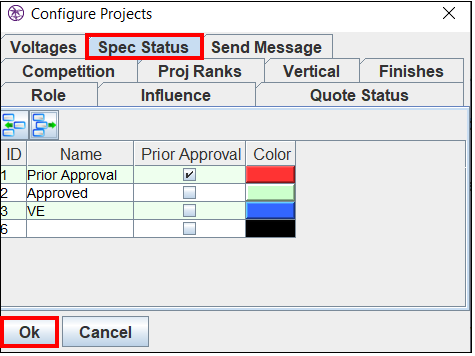
2. Select the "Spec Status" tab.
3, Select the spec status, so it is highlighted.
4. Select the  button.
5. Select "OK."
Comments
0 commentsPlease sign in to leave a comment.