Users may receive invoices or commission statements from factories, but find there is no order in OASIS matching this number. EDI orders (those sent directly to the factory from the distributor) are a good example of this. OASIS allows users to enter the invoice, while creating a matching order simultaneously.
Note: matching invoices can only be created for commissioned invoices. This process cannot be completed for resell invoices.
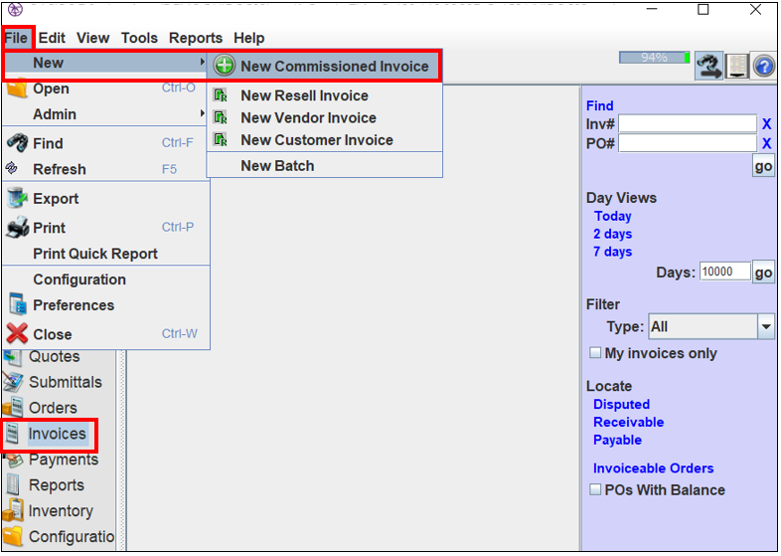
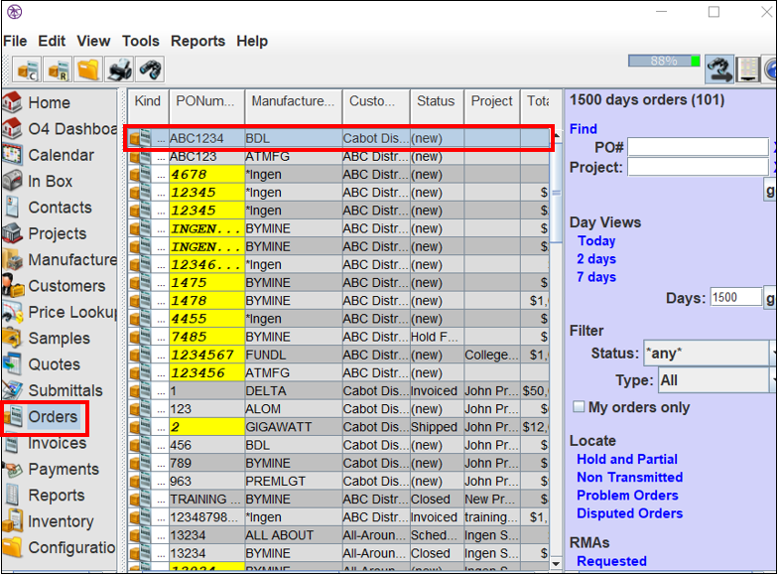
1. Navigate to the Invoices page.
2. Select "File." Note: alternatively, select the  button.
3. Hover over "New," and then select "New Commissioned Invoice."
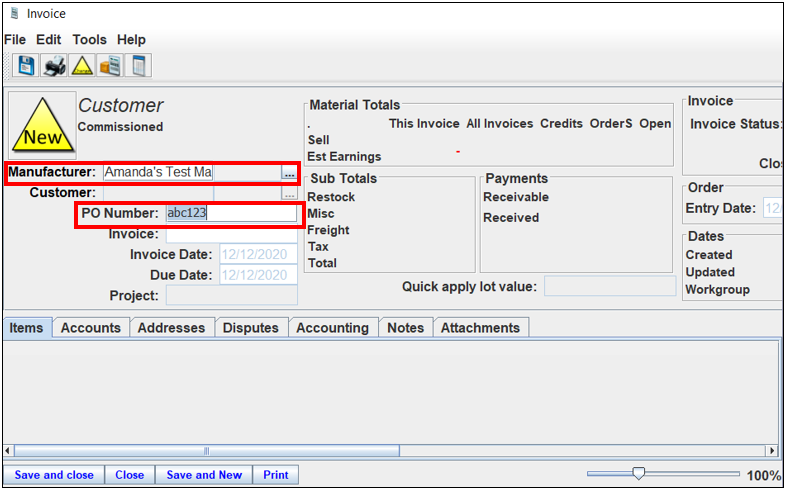
4. The "Invoice" window will appear.
5. Select a manufacturer.
6. Enter a PO number that is not already in the OASIS system.
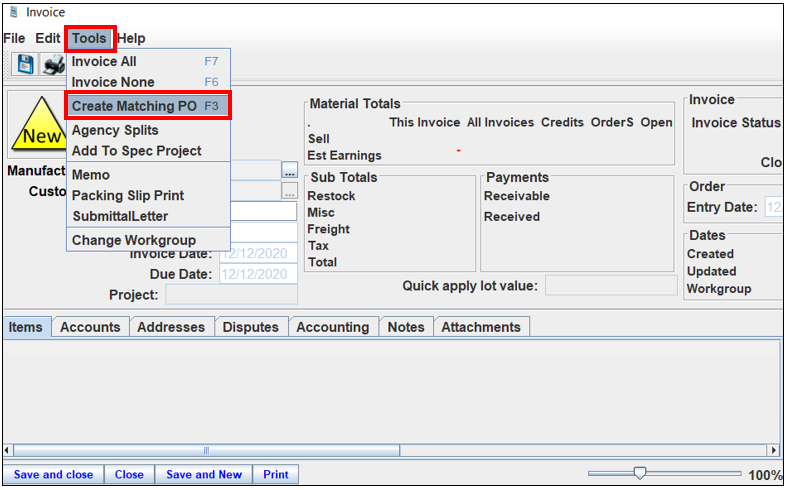
7. Select "Tools."
8. Select "Create Matching PO."
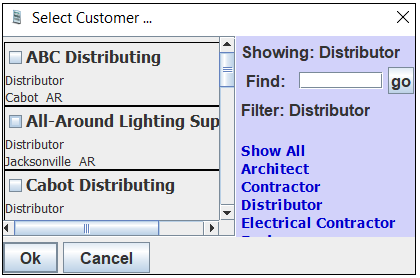
9. The "Select Customer" window will appear.
10. Check the box corresponding to the needed customer.
11. Select "OK."
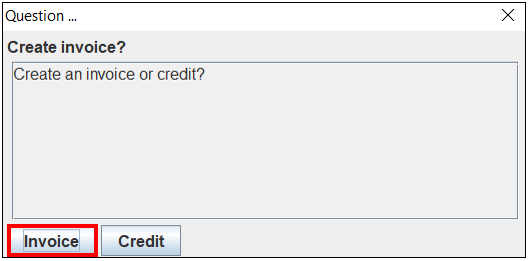
12. The "Question" window will appear, asking if you would like to create an invoice or a credit.
13. Select "Invoice." For more information on creating credits, click here.
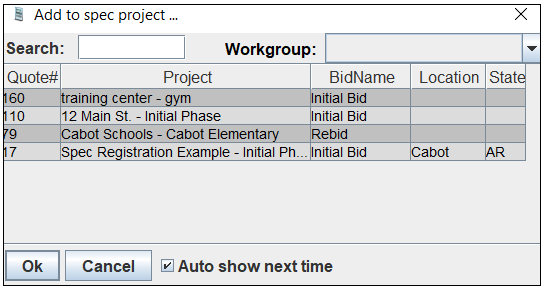
14. If Spec Projects are configured, the "Add to Spec Project" window will appear.
15. If needed, select a spec project, so it is highlighted, and select "OK." Note: alternatively, if users do not wish to add the invoice and matching PO to a spec project, select "Cancel."
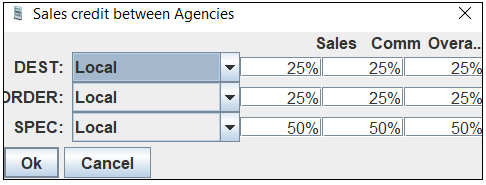
16. The "Sales Credit Between Agencies" " window will appear. Note: this window will not appear if a spec project was not selected in the previous step.
17. Confirm and edit (if needed) the sales, commission, and overage splits.
18. The "Invoice" window will refresh. Note: a default line will be entered with a Qty of 1 and the text, "Material" will appear in the "Part" column. This line may be edited as needed.
19. In the header area, enter an invoice number.
20. Enter an invoice date if that date is not today, and confirm that the due date and project name are correct. Note: a project name will only appear if a spec job was selected.
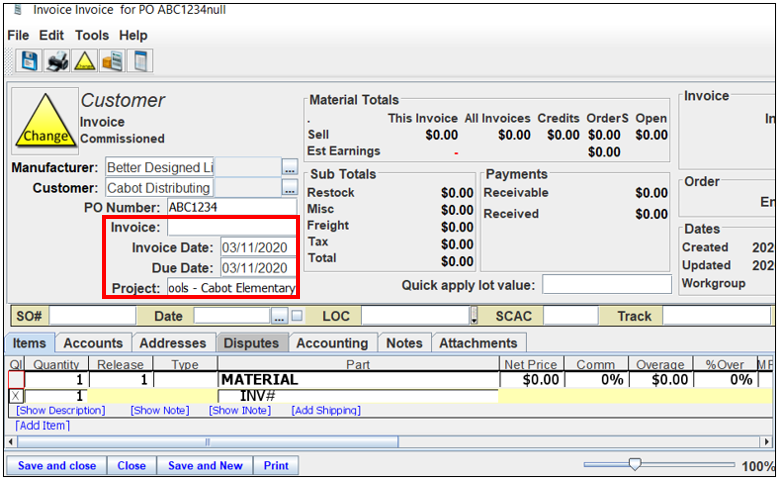
21. In the "Items" tab, enter any shipping information.
22. Add items as needed. Note: these lines will also appear on the matching PO.
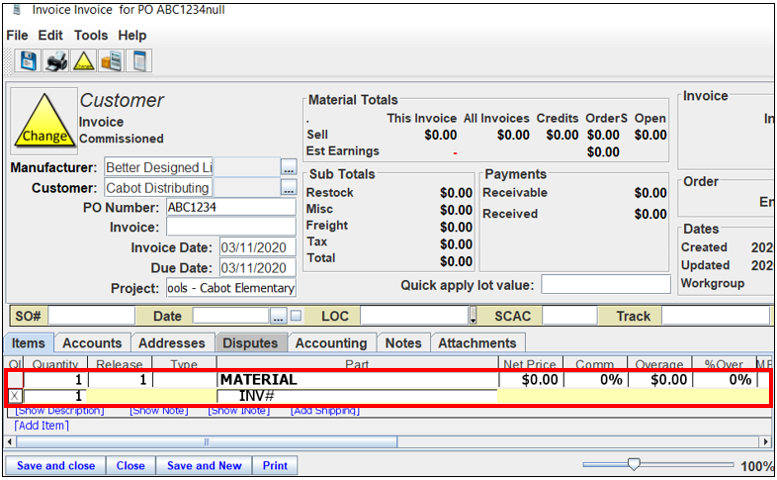
23. Complete the invoice, entering shipping information, notes, disputes, etc as needed.
24. Select "Save and Close" or "Print."
25. The matching PO has been automatically created and can be viewed in the Orders page.
Comments
0 commentsPlease sign in to leave a comment.