Locations are used to represent a place of business, floors of a building, or a suite. Users with admin access may add new locations to OASIS.
Adding Locations
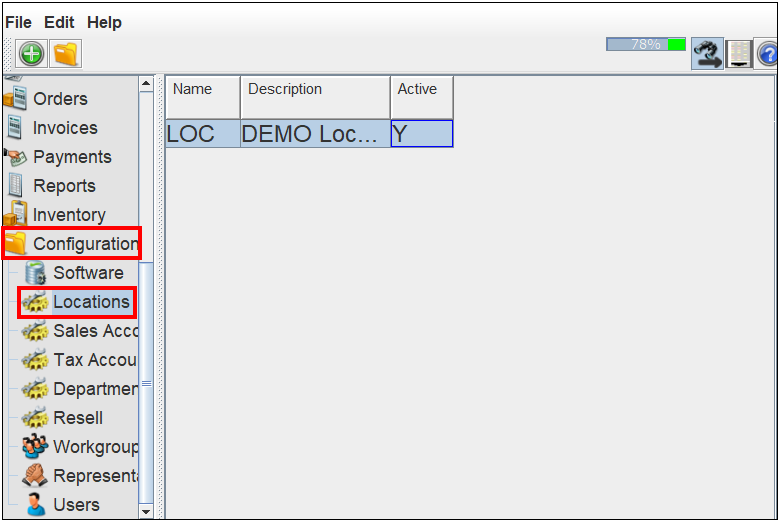
1. Navigate to the Configuration Page.
2. Select "Locations" from the drop-down list.
3. The following three columns will appear:
- Name- the location ID
- Description- an identifying description or explanation of the location
- Active- notes if the location is active or inactive. Note: if "Y" appears, the location is active. if "N" appears, the location is inactive.
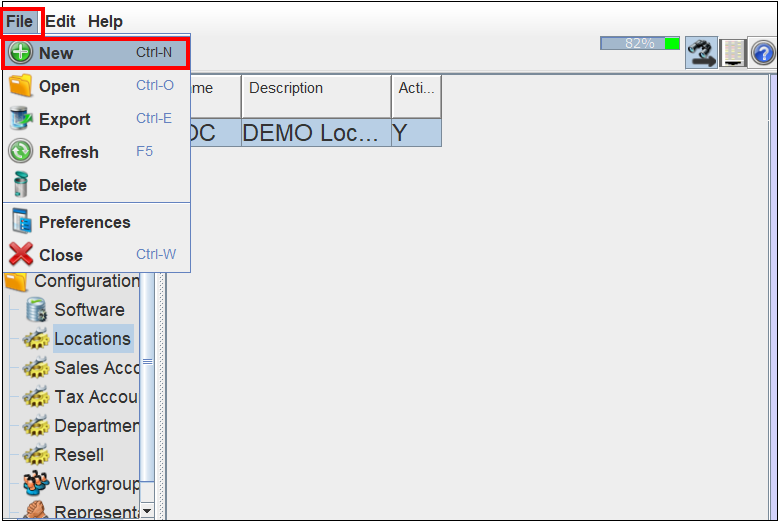
4. Select "File." Note: alternatively, select the  button.
5. Select "New."
6. The "Edit Location" window will appear.
7. Enter a location ID and description.
8. If the location is active, check the active box. If the location is inactive, leave the box unchecked.
9. Select "OK."

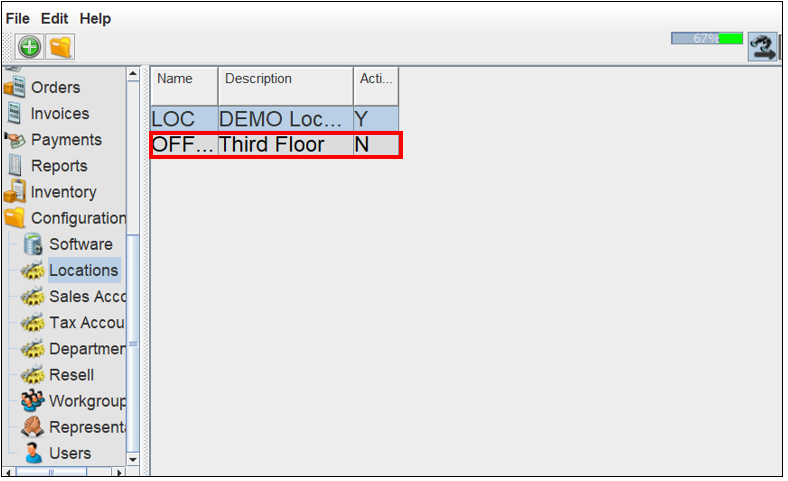
10. The location will be added to the window. Note: if the new location does not appear, OASIS may need to be refreshed.
Deleting Locations
CAUTION: this process is not reversible and may have adverse affects if the location has transactions related to it.
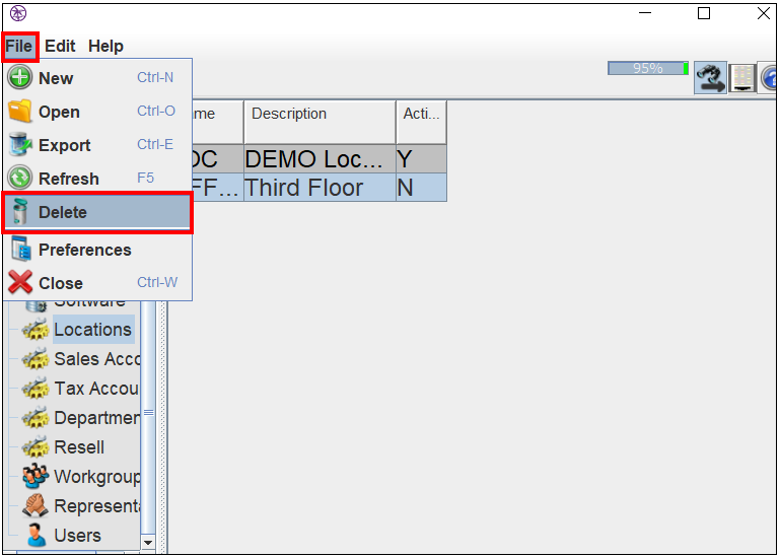
1. Select the location, so it is highlighted.
2. Select "File."
3. Select "Delete."
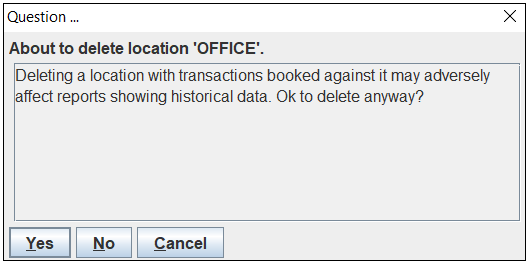
4. The "Message" window will appear, confirming you would like to delete the location.
5. Select "Yes."
Comments
0 commentsPlease sign in to leave a comment.