Users can configure attachment categories, colors, and rules. Categories are used to group attachments by the type of information they contain, such as shipping information. Colors are used to organize attachments by using a color-coding system. Rules are used to code attachments as they enter OASIS. Note: deleting or renaming attachment configurations will automatically update any attachments that are assigned to it. It is recommended to only add new configurations.
1. Navigate to the Configuration page.
2. Select "Software" from the drop-down list.
3. Locate the "Global Preferences" area.
4. Select "Attachments Configuration."
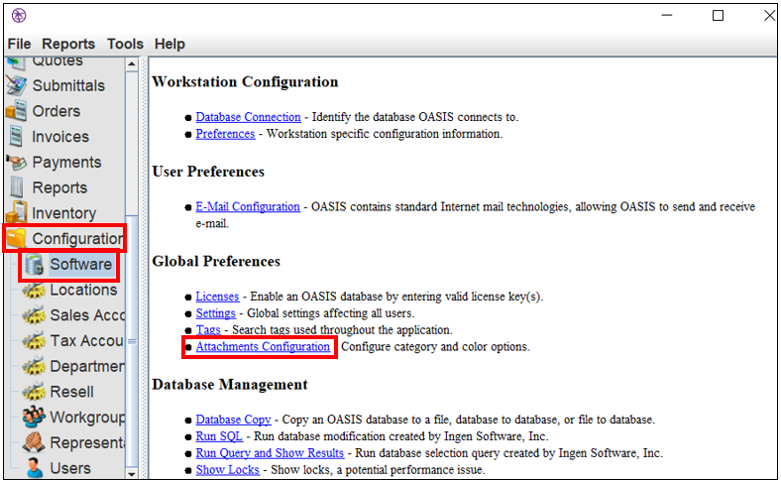
5. The "Configuration" window will appear.
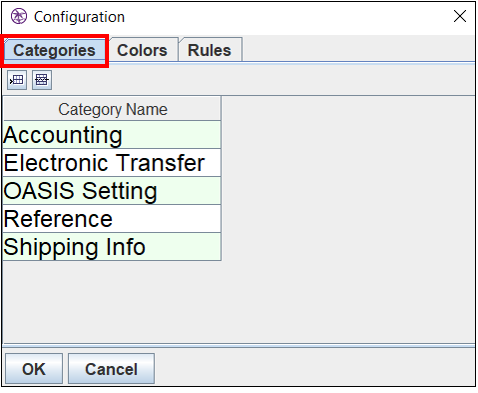
Configuring Attachment Categories
1. Select the "Categories" tab.
2. Select the  button to add a category. A new blank line will appear.
3. Double-click in the blank line to enter a new category name.
4. To delete a category, select the needed field so its highlighted, then select the  button.
5. To edit an existing category, double-click in the needed field.
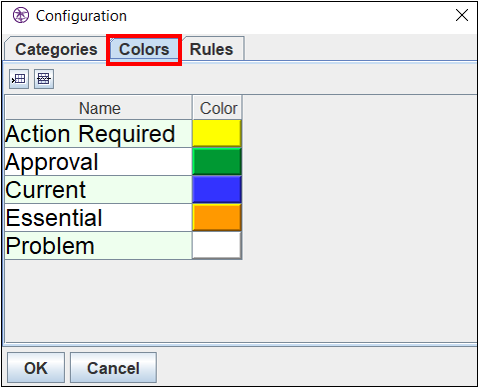
Configuring Attachment Colors
1. Select the "Colors" tab.
2. Select the  button to add a color code. A new blank line will appear.
3. Double-click in the "Name" field to enter a color code name, and double-click in the "color" field to select a color.
4. To delete a color code, select the needed field so it is highlighted, then select the  button.
5. To edit an existing color code, double-click in the needed field.
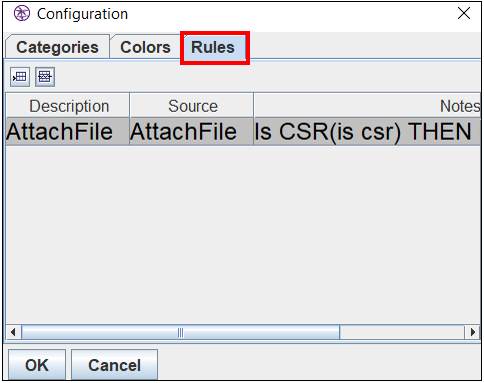
Configuring Attachment Rules
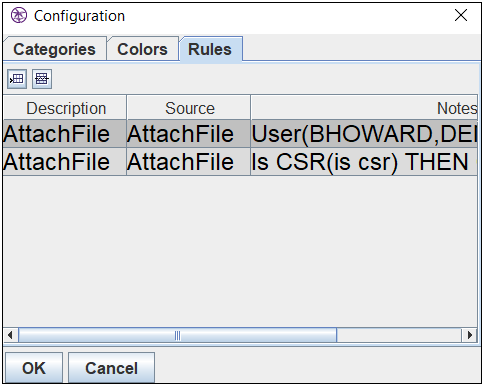
1. Select the "Rules" tab.
2. Select the  button to add a rule.
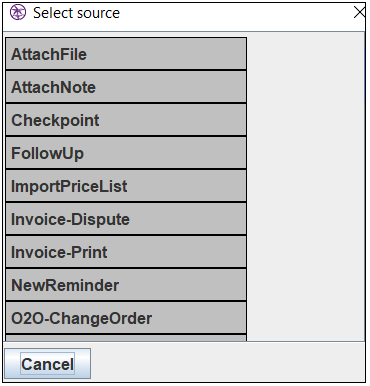
3. The "Select Source" window will appear.
4. Double-click on the needed source. This example will use "Attach File."
- Attach File- user is attaching a file by dragging and dropping an attachment
- Attach Note- user is attaching a note
- Checkpoint- user used a checkpoint
- Follow Up- user is entering a follow up or response
- Import Price List- user imported a price list from a factory
- Invoice Dispute- user sent a commissions dispute to a factory
- Invoice Print- user sent a customer copy of an invoice
- New Reminder- user is entering a new reminder
- O2O Change Order- user sent a change order via O2O
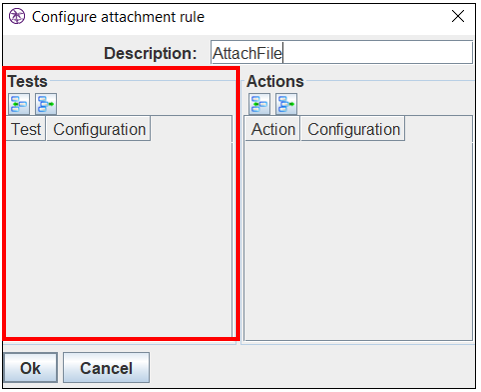
5. The "Configure Attachment Rule" window will appear.
6. In the "Test" section, select the  button.
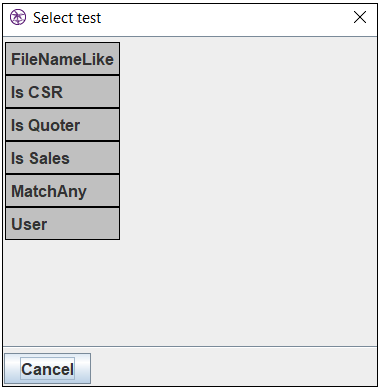
7. The "Select Test" window will appear.
8. Double-click on the needed test. Note: if "File Name Like" is selected, users must enter a file name pattern.
- File Name Like- identify the file name being attached using a pattern
- IS CSR- identifies the file by associated CSR
- Is Quoter- identifies the file by associated quoter
- Is Sales- identifies the file by associated sales account
- Match Any- an open ended rules that matches anything
- User- matches the logged in user when the attachment is created
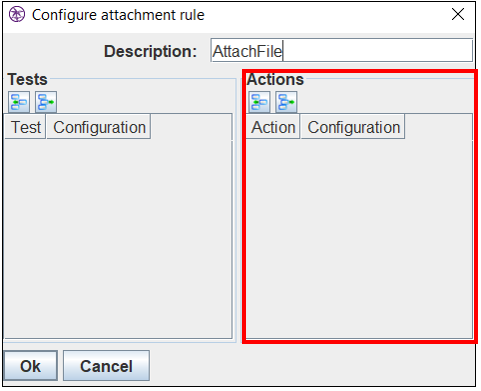
9. OASIS will return to the "Configure Attachment Rule" window.
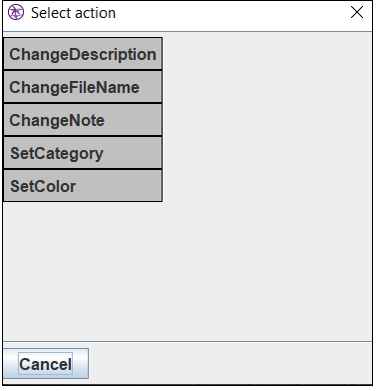
10. In the "Actions" area, select the  button.
11. Double-click on the needed action. Note: if "Change Description," "Change File Name," or "Change Note" are selected, users may enter a pattern. The default is "%original%," but users may choose any of the patterns provided in the window.
12. Select "OK."
13. In the "Configure Attachment Rule" window, select "OK."
14. The new rule will be added to the "Rules" tab.
Comments
0 commentsPlease sign in to leave a comment.