Before version 2.7, some groups created more than one login for multiple workgroups. In version 2.7, OASIS allows users to interact with transactions under the same login for more than one workgroup. This document will explain how to grant user access to multiple workgroups under one login, as well as how to change the workgroup associated with an existing transaction.
Setting Up User Access
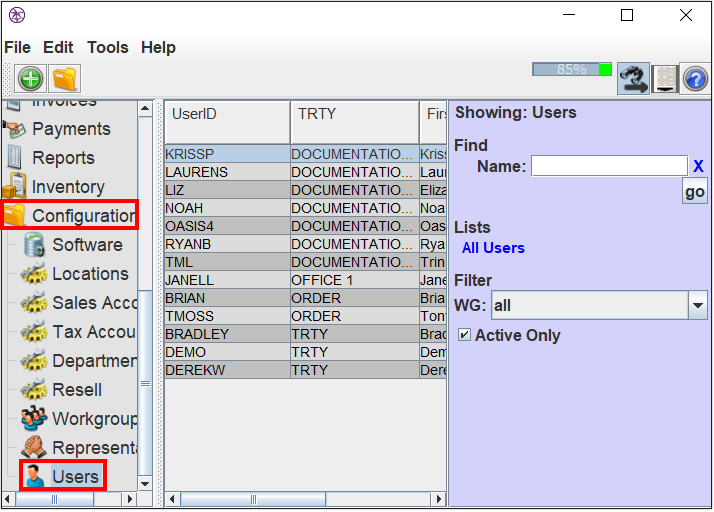
1. Navigate to the Configuration page.
2. Select "Users" from the drop-down list.
3. Open an existing user.
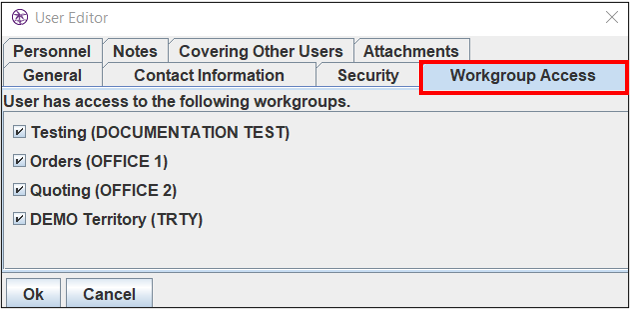
4. The "User Editor" window will appear.
5. Select the "Workgroup Access" tab.
6. Check the boxes corresponding to all the workgroups the user will need access to.
7. Select "OK."
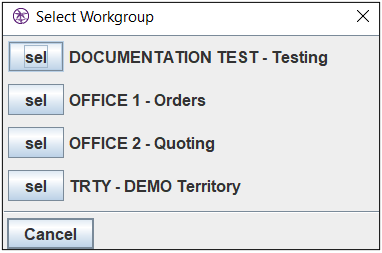
When groups have multiple workgroups, users will always be prompted to select the workgroup he or she wants to work in when creating a new transaction. The following window will appear:
Changing Workgroups on Existing Transactions
In some cases, users must change the workgroup that is associated with an existing transaction.
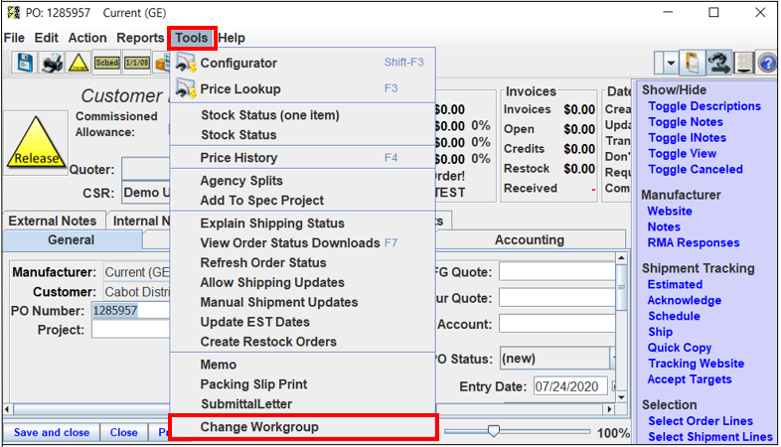
1. Navigate to any transaction page in OASIS. Note: this example will use the Orders page.
2. Open the needed order.
3. Select "Tools."
4. Select "Change Workgroup."
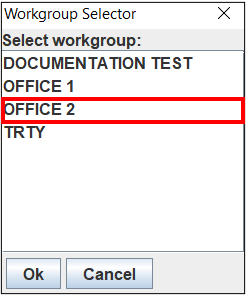
5. The "Workgroup Selector" window will appear.
6. Select the needed workgroup, so it is highlighted.
7. Select "OK."
8. The workgroup logos, addresses, and other information will show on the transaction.
9. In the transaction, select "Save and Close."
Comments
0 commentsPlease sign in to leave a comment.