OASIS features a series of Customer Relationship Management (CRM) Tools that allow users to track conversation history with individual contacts. Through the Conversations view, users may view conversation history, add new conversations, leave catalogs, and check out samples in one convenient location. However, O4 Conversations will replace this process. For more information about O4 Conversations, click here.
Opening the Conversations View
1. Navigate to the Contacts page and select an association. A list of contacts should appear at the center of the window. This is the Standard View.
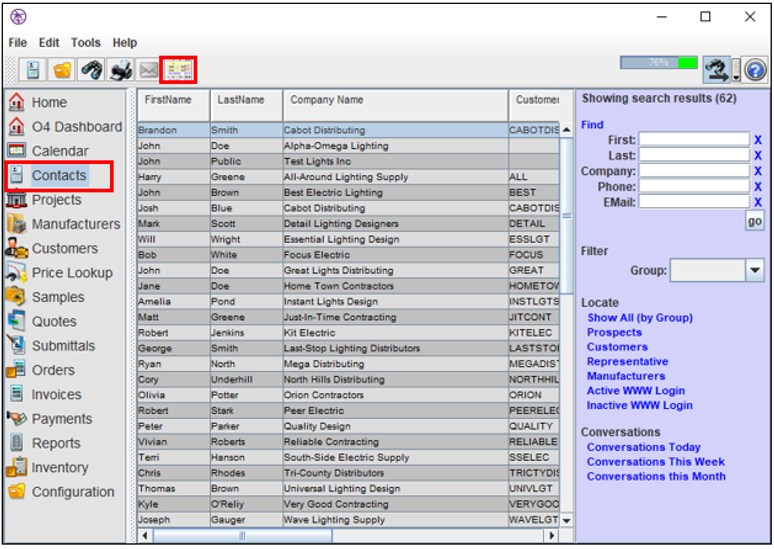
2. Select the  button to transfer to the Conversations view. To filter contacts, select the needed link under "Conversations."
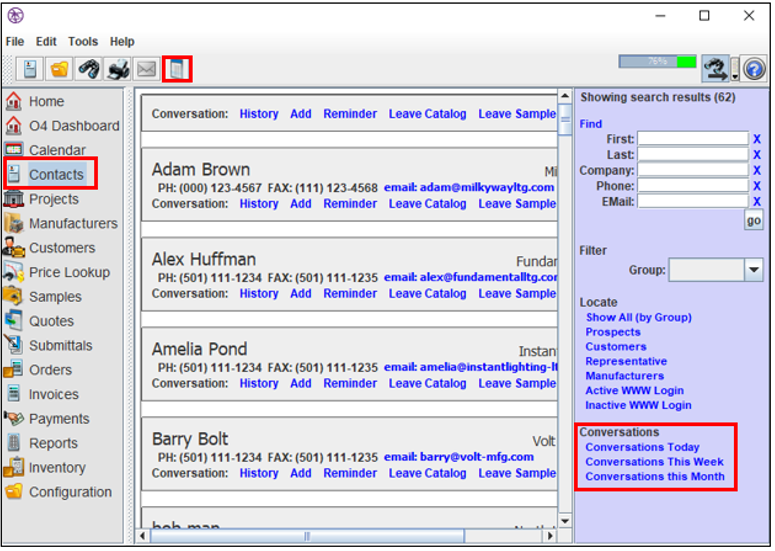
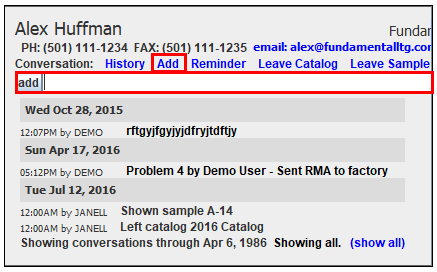
3. Select the links in each contact to complete any needed tasks.
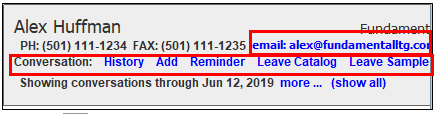
- Email- send an email to the contact
- History- view conversation history with this contact
- Add- create a note to send to the contact
- Reminder- create a reminder for the contact
- Leave Catalog- leave a catalog with the contact
- Leave Sample- leave a sample with the contact
4. Select the  button to return to Standard View.
Viewing History
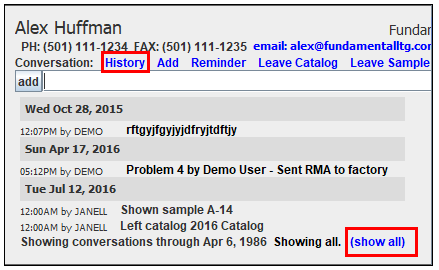
1. Navigate to a contact and select "History."
2. Select "More" to set a range for history (i.e. "Showing conversations through June") or select "Show All" to view all conversation history. Note: you may have to select "Show All" more than one time to view the full history.
Adding Conversations
1. Navigate to a contact and select "Add."
2. Enter any text in the space provided.
3. Select "Add." The conversation will be added to the contact.
Creating Reminders
1. Navigate to a contact and select "Reminders." The "Reminder for" window will appear.
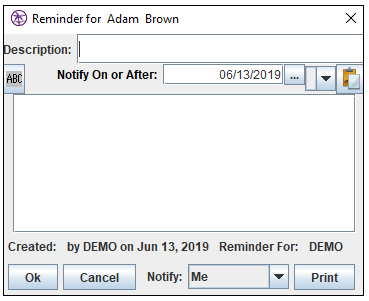
2. Enter needed information and select "OK."
3. The reminder will show on your Home Screen, as well as the contact's.
Leaving a Catalog or Sample
1. Leaving a catalog and leaving a sample require the same process. This example will leave a catalog.
2. Select "Leave Catalog." A pop-up window will appear, listing available catalogs.
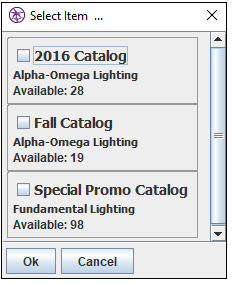
3. Check the box(es) for the brands you wish to leave.
4. Select "OK."
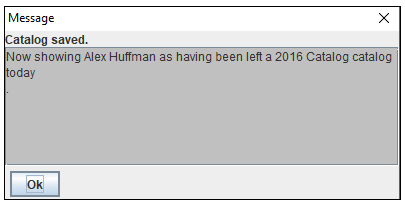
5. The "Message" window will appear, showing that information has been saved. For more information on catalogs, click here.
6. Select "OK."
Comments
0 commentsPlease sign in to leave a comment.