Once you have printed labels for the items, you can scan them to check them in or out in the full screen version. There are only two major requirements for barcode scanners for use with Oasis:
- The USB scanner needs to be recognized by Windows as a Human Interface Device (HID compliant).
- The USB scanner needs to be able to read the Code 128B symbology. (Most modern barcode scanners will read those but you'll want to verify that your scanner does.)
Running OASIS in Samples Mode
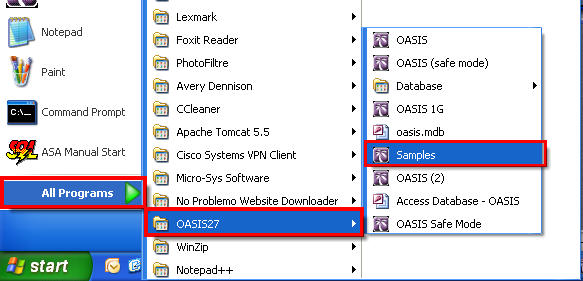
To access the Full Screen version, go to All Programs> OASIS27 > Samples:
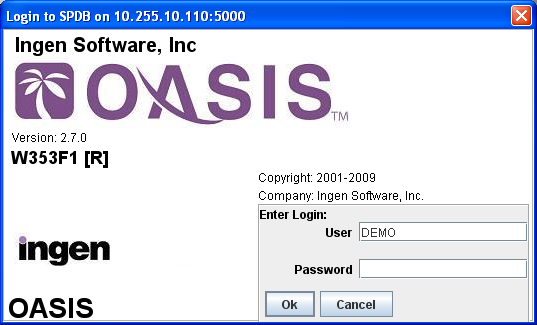
This will bring up the usual OASIS log in screen:
Once you log in, the main samples screen will appear:
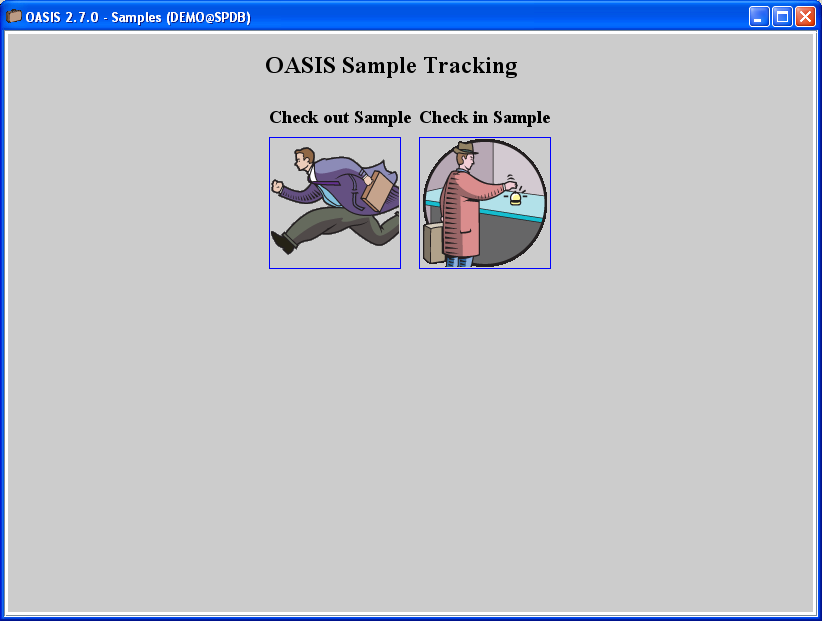
This is where you can select whether you want to check the sample in or out.
Checking a Sample Out
To Check an item out click on "Check out Sample". You will then need to select a user:
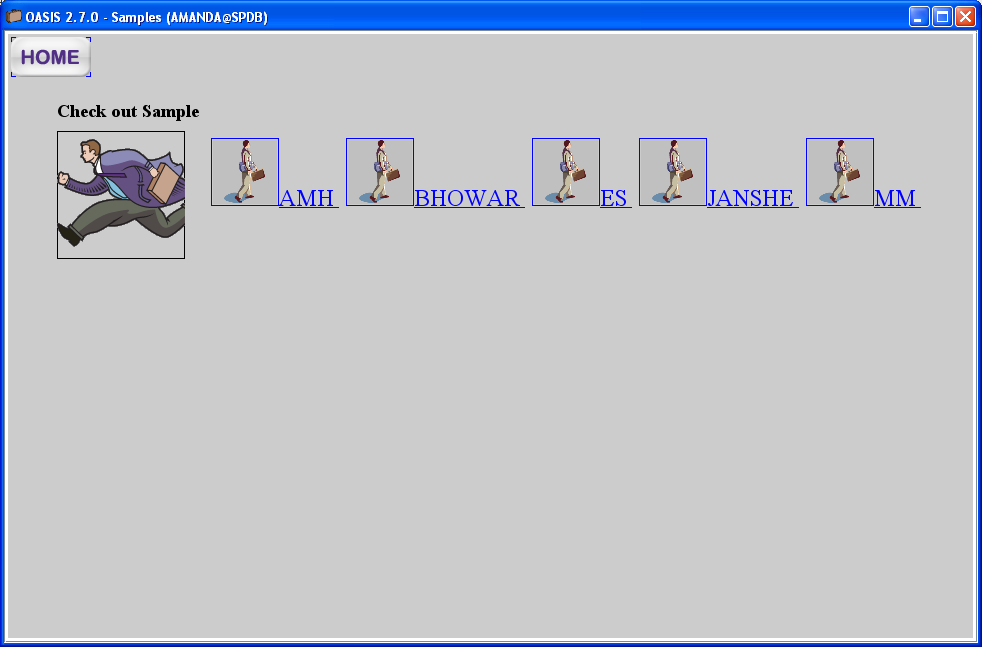
After you have selected the user, it will bring you to the check-out screen.
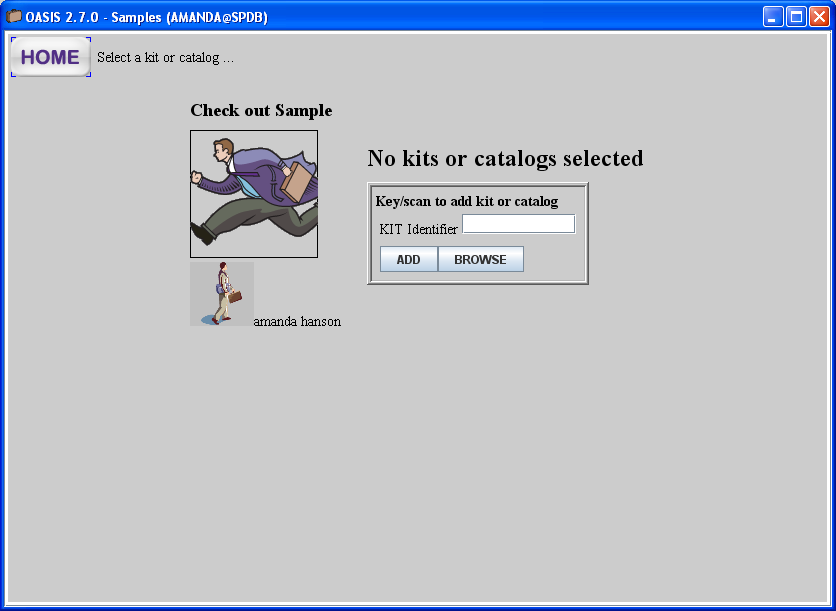
This is where you scan the item you are going to check out. Once scanned, it will bring up the scanned item:
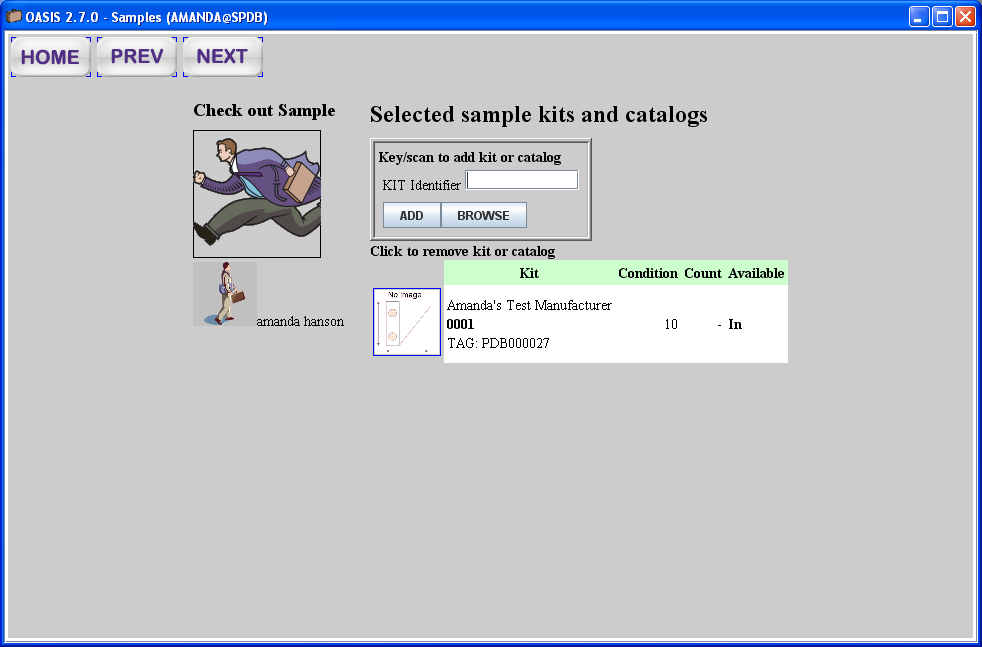
Once you have scanned all of the items, click the next button. This will lead to the screen where you select the customer:

When you find the customer, click on the box beside their name. This will select the customer:
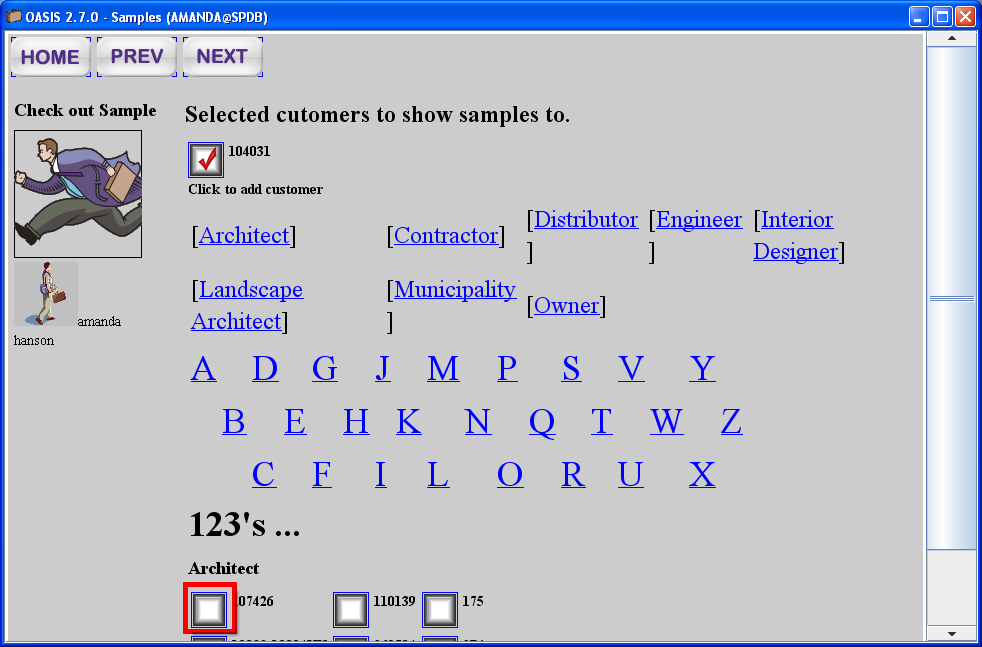
Click the Next button. This will bring you to the Confirmation page:
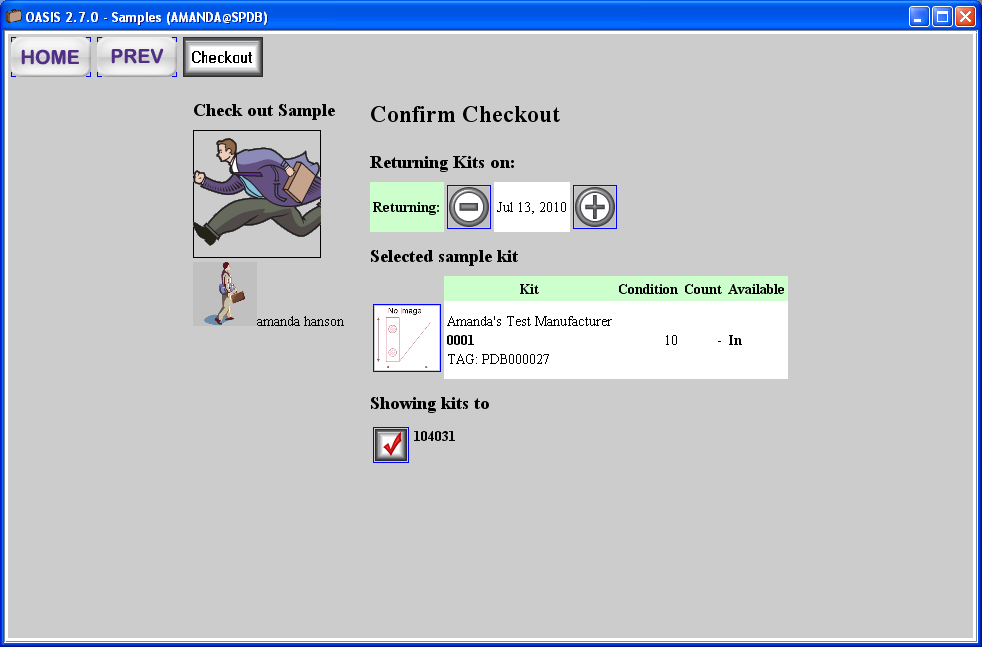
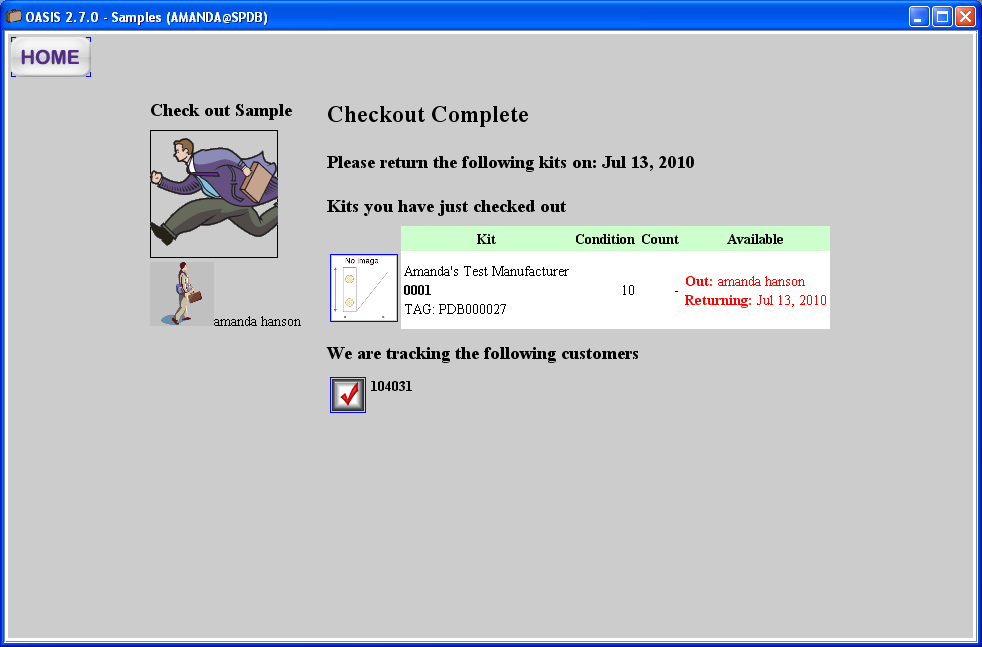
If everything looks correct click the "Checkout" button. This will bring up the Checkout Complete screen and the item has successfully been checked-out.
Checking a Sample In
To check an item in click on "Check in Sample". You will then need to select a user: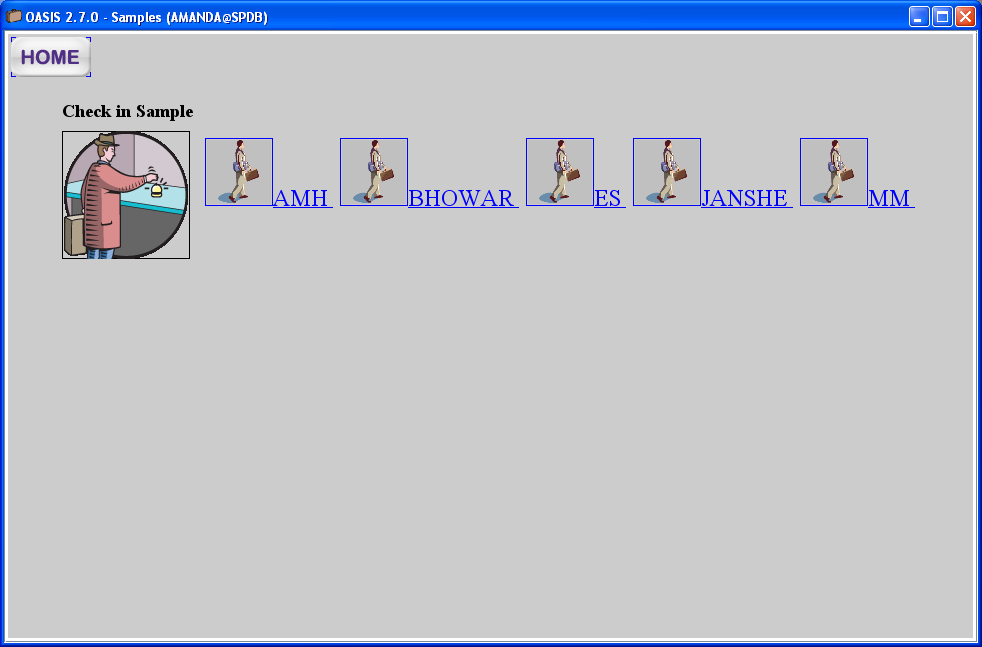
After you have selected the user, it will bring you to the check-in screen:
This is where you scan the item you are going to check in. Once scanned, it will bring up the scanned item: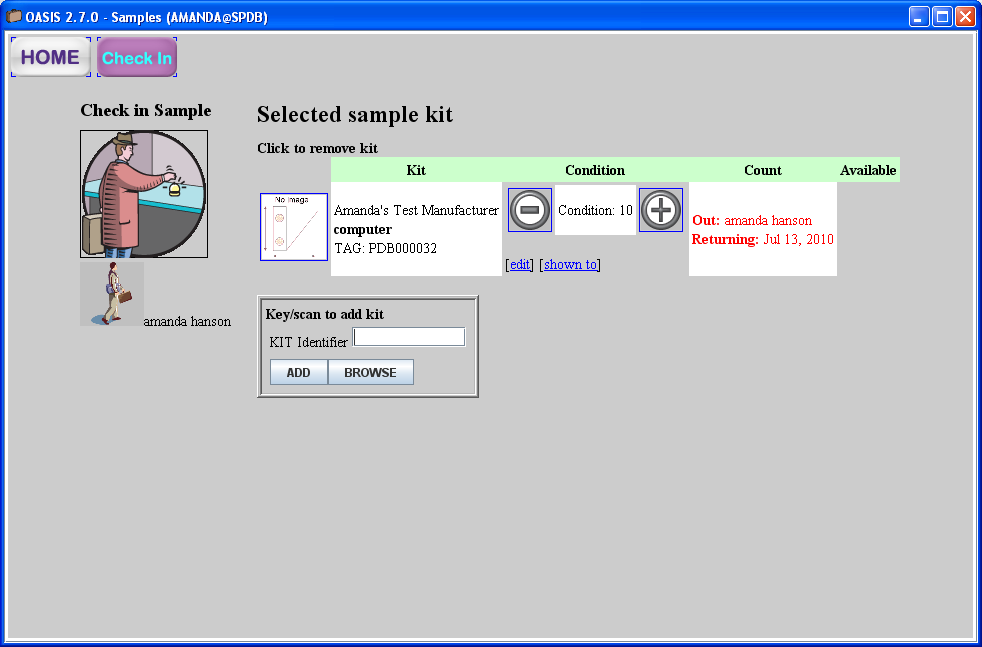
Click the "Check In" button and the item has successfully been checked in.
Comments
0 commentsPlease sign in to leave a comment.