OASIS allows users to configure Orders in order to create data that is useful for reporting, classifying, and organizing. Users may create order statuses, carriers, freight types, and order types.
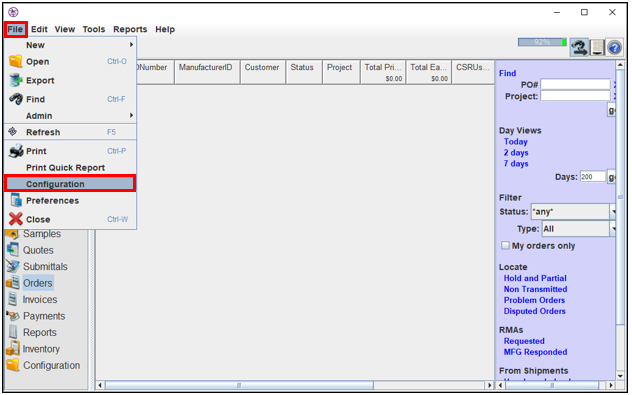
1. Navigate to the Orders page.
2. Select “File.”
3. Select “Configuration” from the drop-down list.
4. The “Configure Order Entry” window will appear.
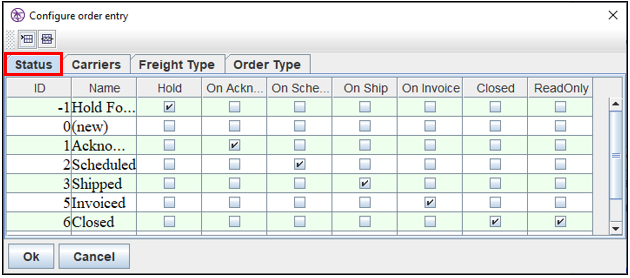
The Status Tab
1. Use this tab to create order statuses that can be used to classify orders. Caution: modifying existing statuses may negatively impact data. For more information, click here.
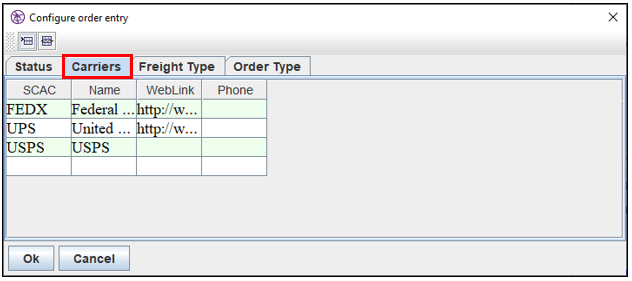
The Carriers Tab
1. Use this tab to create carriers that may be used for shipment information on an order.
2. Select the  button to add lines, and select the
  button to remove lines.
The Freight Type Tab
1. Use this tab to create freight types that may be used for shipment information on an order.
2. Select the  button to add lines, and select the
  button to remove lines.

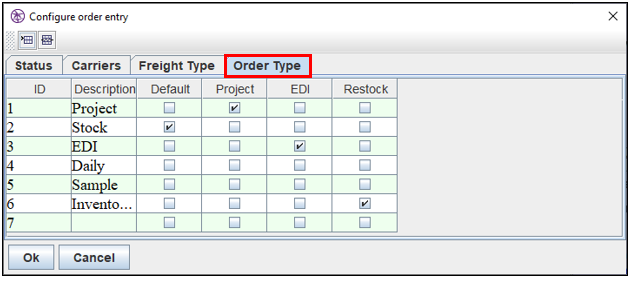
The Order Type Tab
1. Use this tab to create order types that may be used to classify orders.
2. Select the  button to add lines, and select the
  button to remove lines.
Comments
0 commentsPlease sign in to leave a comment.