Orders may take many different avenues during the course of a job. A Release order is a standard customer order, where all the released quantities are the same as the number of items ordered.
To complete this process, users must know how to create an order or to convert a quote to an order. For more information, click here.
Creating Release Orders
1. Navigate to the Orders page.
2. Select "File."
3. Hover over "New" and then select "Commission order" OR "Resell order," depending on user needs. This example will use a commission order.

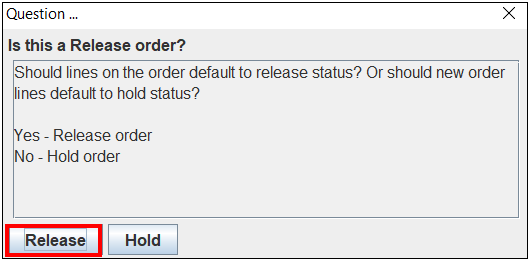
4. The "Question" window will appear, asking if the lines on the order should default to release status or hold status.
5. Select "Release."
6. The "PO Editor" window will appear.
7. In the "General" tab, enter the manufacturer, customer, and PO number. Note: if converted from a quote, this information will be automatically entered.
8. Select an Order Type. Note: if an order is converted from a project, OASIS will assume it's "Project" type order. If there is no quote, OASIS will assume a "Stock" type order.

9. Using the "Preferences" tool, add the "Rel Now" (Release Now) column to the order. For more information on using the "Preferences" tool, click here.
10. In the order, select the "Items" tab.
11. Enter order quantities, type, part number, pricing, etc as needed. Note: the "Rel Now" column will automatically match the quantity for each item.
12. Complete the order as needed by entering shipping information, notes, etc as needed.

Printing a Release Order
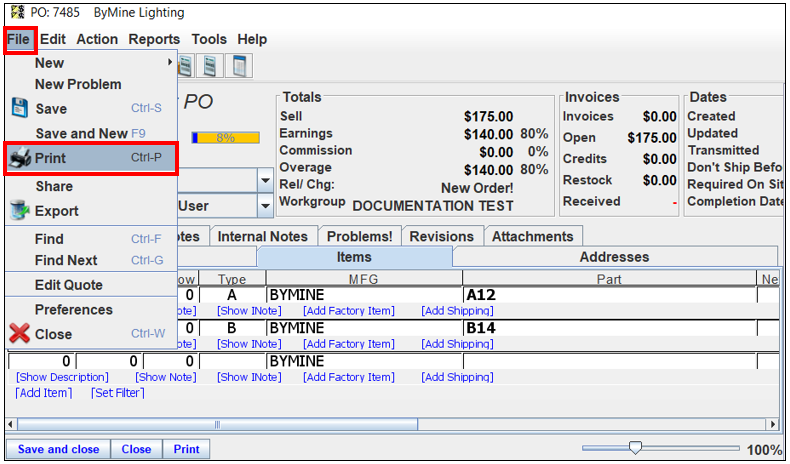
1. Open the needed Release order.
2. Select "File."
3. Select "Print."
4. The "Print PO" window will appear.
5. Customize print settings as needed.
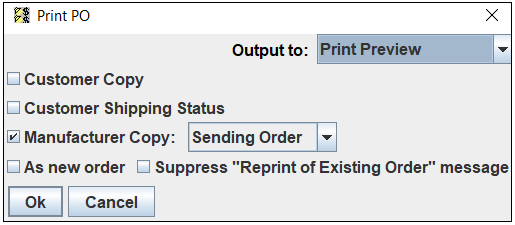
6. Select "OK."
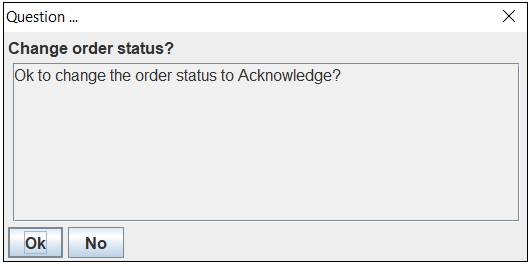
7. The "Question" window will appear, asking to change the order status to "Acknowledged."
8. Select "OK."
Comments
0 commentsPlease sign in to leave a comment.