Receiving a quote from a representative via O2O is as simple as dragging and dropping the file into OASIS. OASIS will fill in most information automatically. However, the company receiving the file must be set up to receive O2O transactions. For more information, click here.
1. Save the O2O file to a local computer. Note: this document assumes an O2O file has been received via email.
2. Launch OASIS.
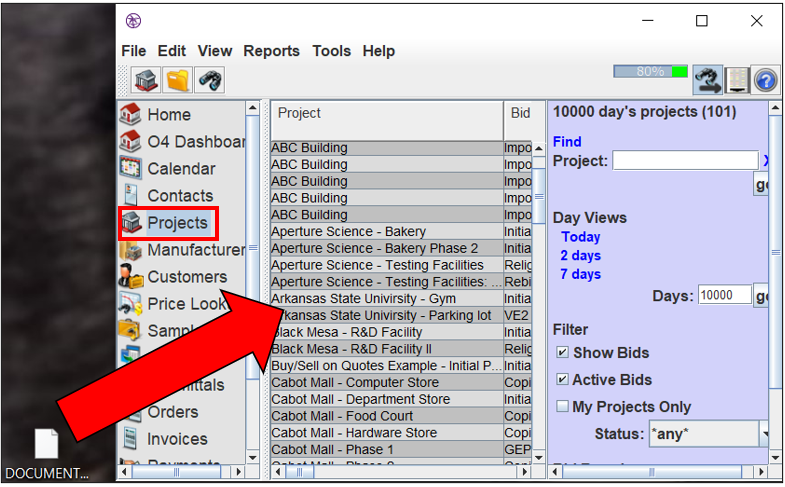
3. Navigate to the Projects page or the Quotes page. Note: Ingen Software recommends dropping the file directly into the bill of materials of the associated project. This ensures the systems finds and enters the project information into the order.
4. Drag and drop the file into the associated project or the Quotes page.
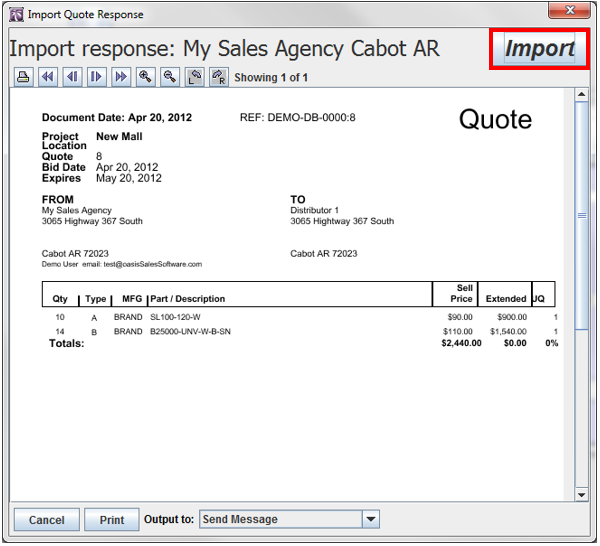
5. The "Import Quote Response" window will appear, displaying the contents of the file.
6. Ensure all information is correct and that the correct file will be imported.
7. Select "Import."
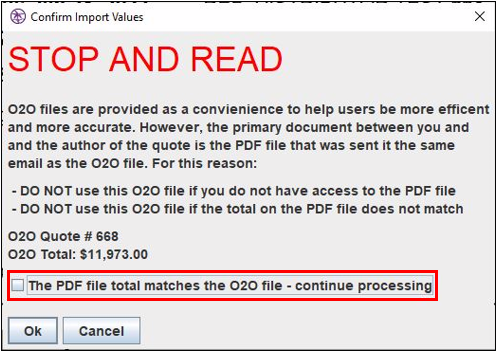
8. A pop-up will appear explaining that the primary document is the PDF. If you do not have the PDF available to review as instructed, do not import the O2O file. If the documents match, check the box and click Ok.
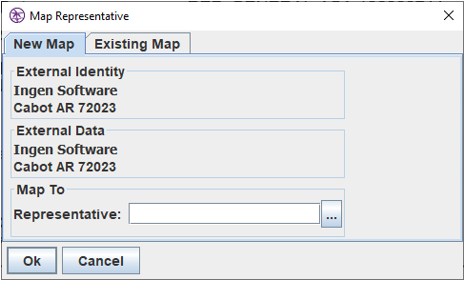
9. If this is the first time O2O data has been received from this representative, the "Map Representative" window will appear, asking you to map the representative's internal codes to your codes in OASIS. If this is not the first time O2O data has been received from this representative, continue to step 12.
10. Select the  button to choose a representative to map to.
11. Select "OK."
12. The "RFQ response" window will appear, displaying a summary of the response compared to the quote in OASIS.
- the bill of material from the representative is shown and OASIS will attempt to map the representative response at the line level
- anywhere lines are different will have a yellow background.
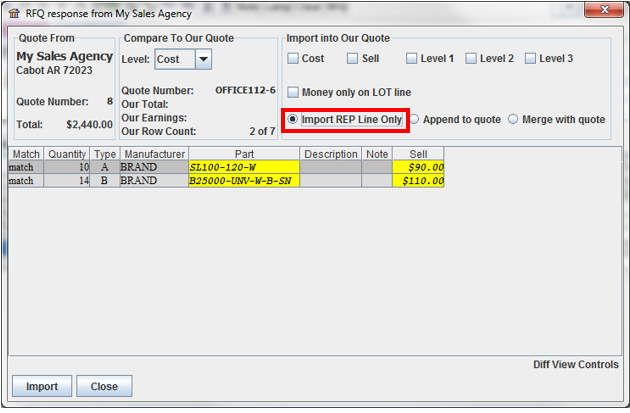
Import as REP Lines
Users can create a REP line on the quote, allowing users to easily compare the response from multiple representatives at once. To import the quote with REP lines, follow the steps below:
1. In the "RFQ response" window, check the "Import REP Line Only" box.
2. Select "Import."
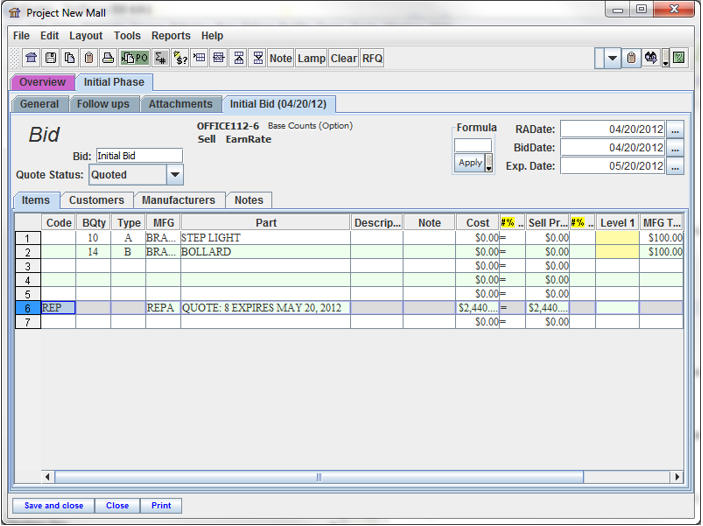
3. The "Project Editor" window will appear.
4. The total price of the quote is added on a rep line using the representative's short code as setup in OASIS. The quote number and expiration date are shown as a note in the "Part" column.
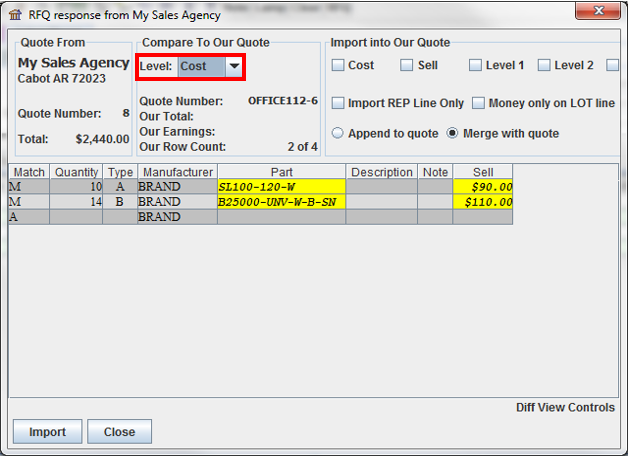
Import as Cost
Users can also import directly into the "Cost" column, allowing users to quickly markup cost and respond to the customer. To import the quote as cost, follow the steps below:
1. In the "RFQ Response" window, locate the "Level" field.
2. Change the "Level" field to "Cost."
3. Select "Import."
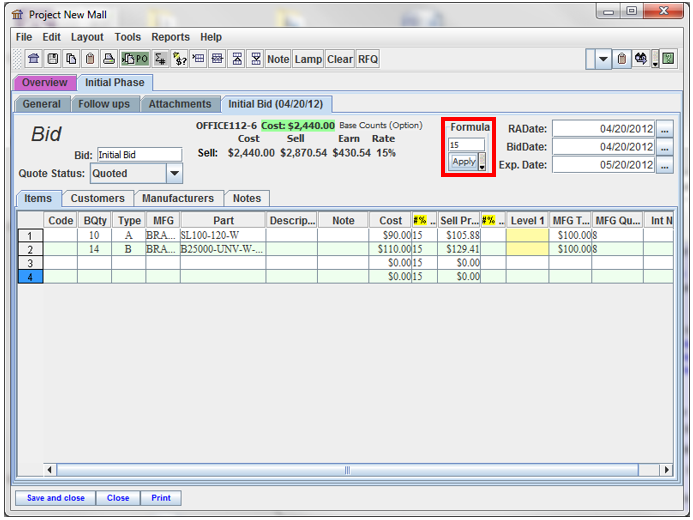
4. The "Project Editor" window will appear.
5. Use the "Formula" field to apply markup. For more information, click here.
Comments
0 commentsPlease sign in to leave a comment.