Users can print the bill of material not including pricing for any quote that is not in a closed status. This article will explain how to print the bill of material for a quote in O4.
1. Select the ![]() icon.
icon.
2. Select "Projects" from the drop-down list.
3. The "Project/Quote Listing" page will appear.
4. Open an existing project.
5. Select "Produce", and select "Send."
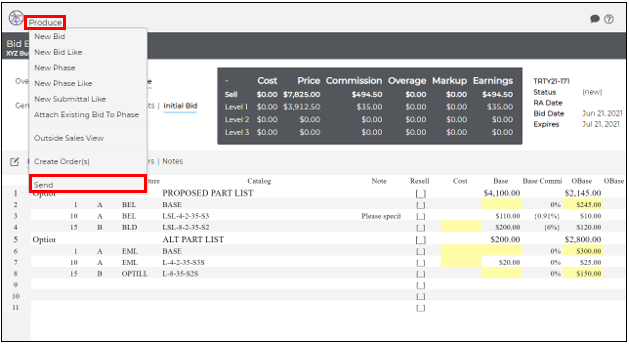
6. A new page will appear presenting the print options. Select "Bill of Material."

7. A new page will appear allowing the user to select all customer or specific customers. To include a contact, select "Contacts ![]() ".
".

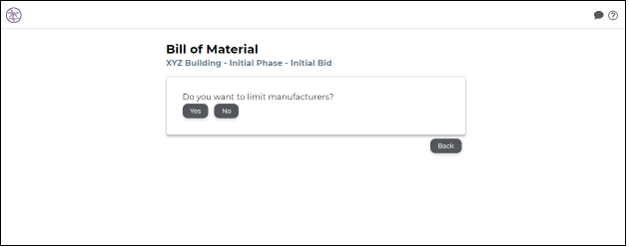
8. A new page will appear allowing the user to limit the manufacturers that appear on the print. A new page will appear allowing the user to limit the manufacturers that appear on the print. Select  or
or  .
.
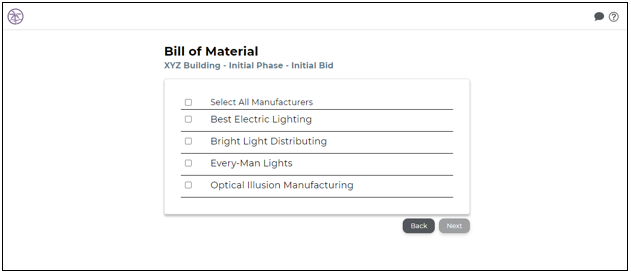
9. If  was selected, a new page will appear that will allow the user to check the boxes for the manufacturers that should appear on the print. Select
  .
.
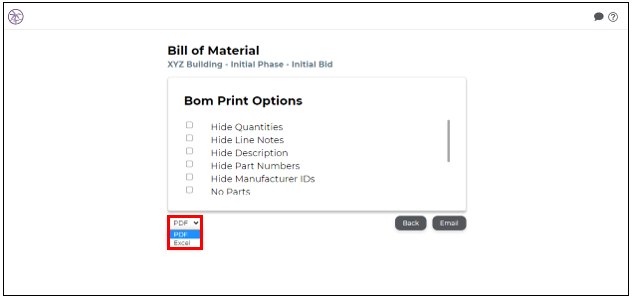
10.A new page will appear allowing the user to customize how the bill of material prints.
- Hide Quantities, Hide Line Notes, Hide Description- hide these items.
- Hide Part Numbers, Hide Manufacturer IDs, No Parts- hide these items.
- Suppress Zero Quantity- suppress lines with a zero quantity.
- Show Manufacturer Terms- display manufacturer terms and conditions at the bottom of the print.
- Show Lot Lines- display lot lines.
- Show Components, Lamps, and Accessories- display component, lamp, and accessory lines.
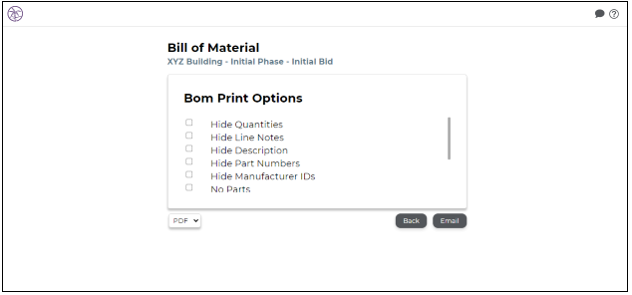
11. Set the print output to PDF or Excel.
12. Select  .
.
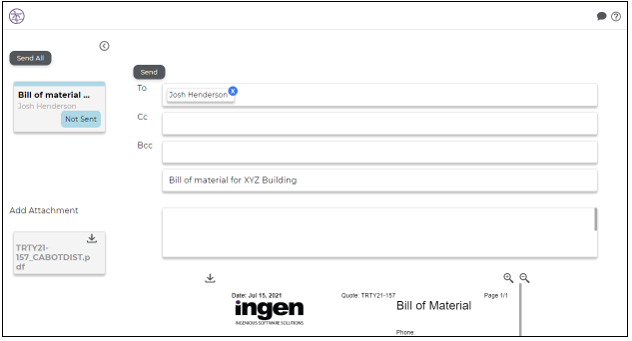
13. The email builder will appear. Make changes to the recipients and body as necessary.
11. Select  .
.
Comments
0 commentsPlease sign in to leave a comment.