Customers are an integral part of OASIS. Users can define customer role, assigned sales accounts, tax status, and more in an customer entry. This article will explain how to create a customer in O4.
1. Click the ![]() icon.
icon.
2. Select Customers from the drop-down list.

3. The Customer Listing will appear.
4. Click File, then New Customer.
5. The Customer Creator will appear.
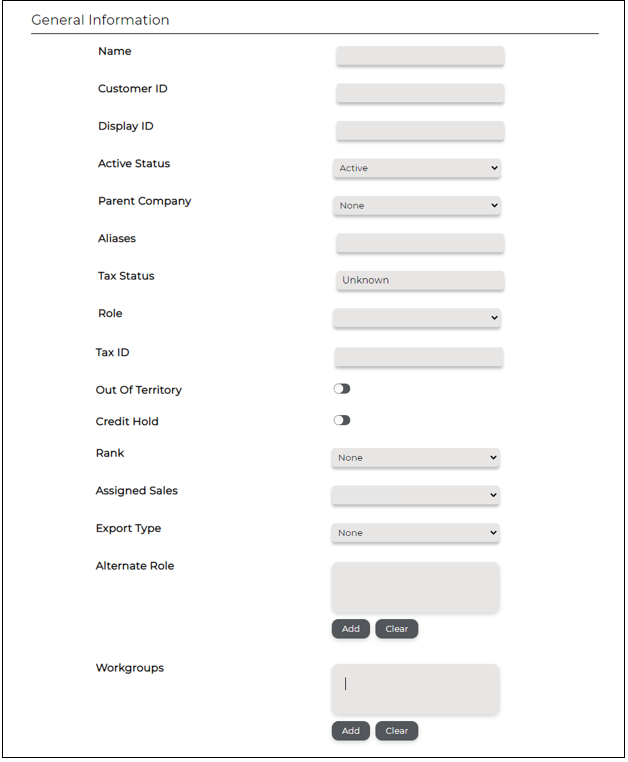
General Information
Use this section to enter identifying information.
- Name- the full name of the customer.
- Customer ID- the internal ID assigned to the customer. Note: this ID cannot be altered once created, but it does not appear in OASIS except for the customer viewer.
- Display ID- the ID of the customer that will display in transactions.
-
Active Status- identifies the customer's status.
- Active- the customer is an active entry.
- Inactive- the customer is an inactive entry; the customer cannot be used in transactions and will not appear in reports.
- Parent- a parent company to child brands. This option is for reporting purposes only; the customer entry cannot be selected in transactions.
- Parent (Shown)- a parent company to child brands. This enables the customer entry to be selected in transactions.
- Parent Company- the customer's parent company.
- Aliases- alternative names the customers can be searched by.
- Tax Status- define whether the customer is taxable, exempt, or unknown.
- Role- define the customer's role.
- Tax ID- select the tax account applicable to the customer if using Tax Accounts. If Tax Accounts2 is enabled, leave this field blank.
- Out Of Territory- identify this customer as out of territory. This is used for reporting purposes.
- Credit Hold- identify the customer as being on credit hold. This is used for reporting purposes and will initiate pop-up messages as a reminder during order creation.
- Rank- identify the customer's rank. This is required for influence.
- Assigned Sales- select the user assigned to the customer. The user must have the Sales role with a comm. account (sales account) assigned in their user account.
- Export Type- select "O2O" to enable the customer to create .O2O files when sending quotes and orders, described here, or select "XLS" to enable the customer to create .xls files when sending quotes and orders.
- Alternate Role- define an alternate customer role.
- Workgroups- the workgroups the customer can be accessed from.
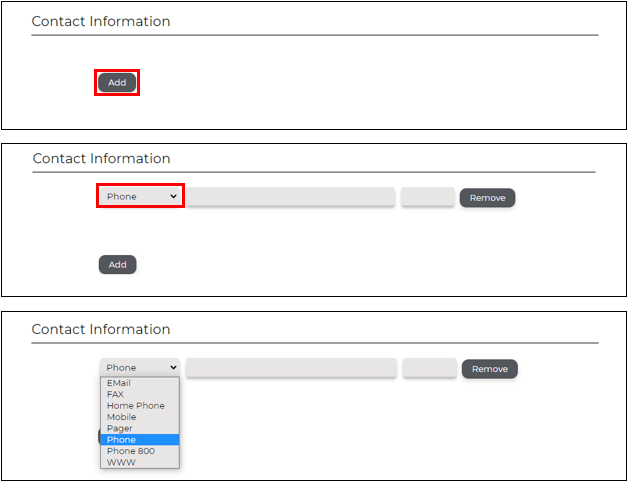
Contact Information
Use this tab to add contact information, including email, phone number, fax number, and website.
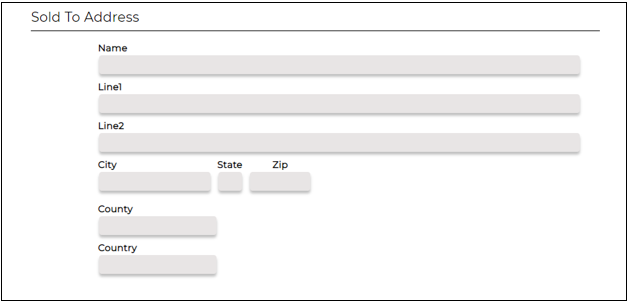
Sold To Address
Use this section to enter the sold to address.
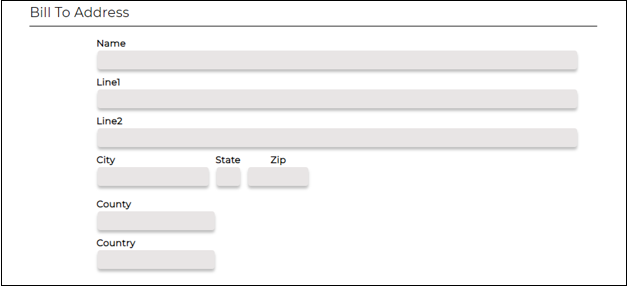
Bill To Address
Use this section to enter the bill to address.
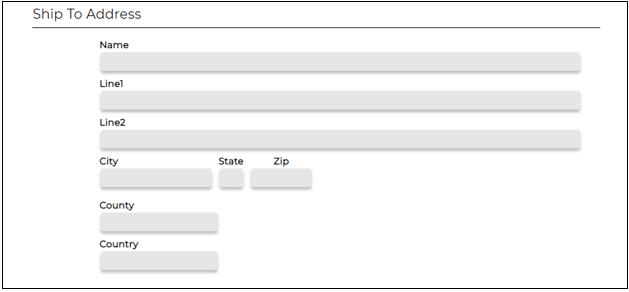
Ship To Address
Use this section to enter the ship to address.
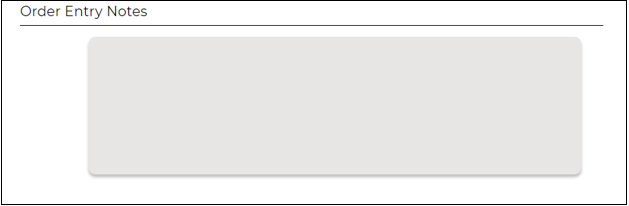
Order Entry Notes
Use this section to enter comments specific to order entry. Note: this will appear as a pop-up message each time an order is created.
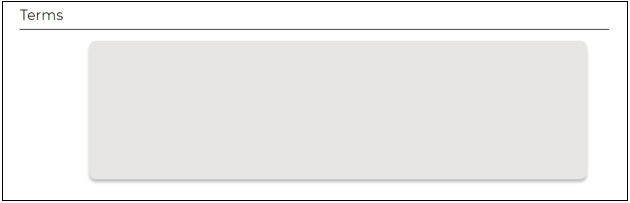
Terms
Use this section enter customer terms and conditions.
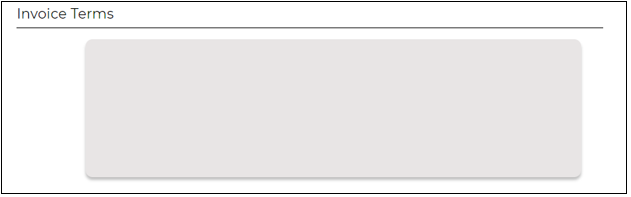
Invoice Terms
Use this section to enter any terms related to invoices. Note: this will appear on the customer invoice print.
Search Tags
Use this section to define any search tags related to the customer.

6. Select ![]() . To learn more about the tabs available in the Customer Viewer, click here.
. To learn more about the tabs available in the Customer Viewer, click here.
Comments
0 commentsPlease sign in to leave a comment.