After a sample is checked out or picked up, O4 allows users to check a sample back into its specific location within the sample room. Users can define the sample's condition and enter notes related to the sample. Checking in a sample will change its status to available. This article will explain how to check in a sample in O4.
1. Select the ![]() logo.
logo.
2. Select "Samples" from the drop-down menu.
3. Open the needed Sample.
4. Select "Check In/Drop Off."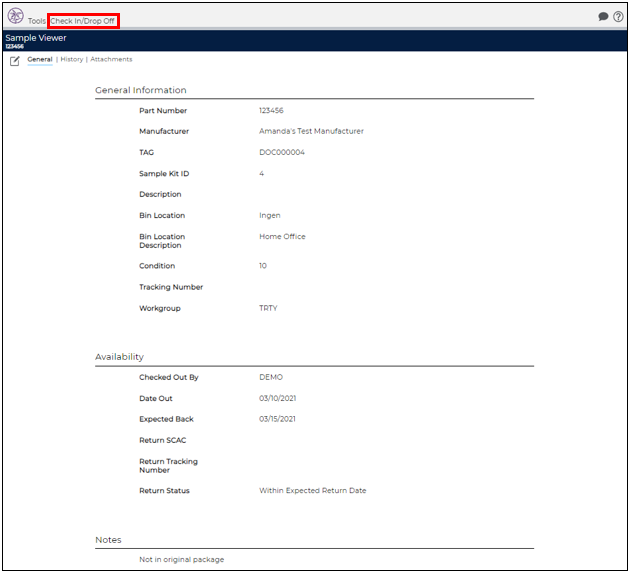
5. A new page will appear.
6. Select "Check In" from the drop-down list.
7. User may upload a photo of the sample by selecting ![]() . Note: this is optional.
. Note: this is optional.
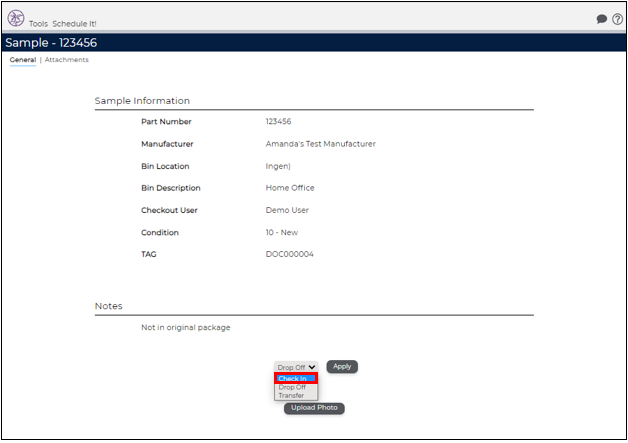
8. Select ![]() .
.
9. The Samples Check In page will appear.
10. Define the checkout user, drop off location, and any notes related to the sample.
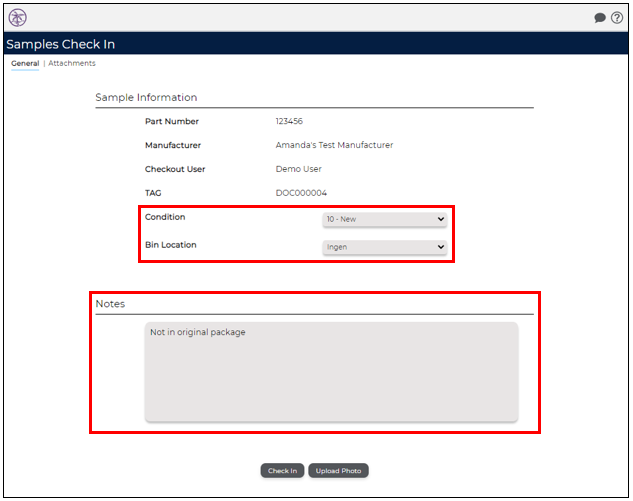
11. Select ![]() .
.
12. The sample will now be checked in and users will be redirected to the Samples Listing page.
Comments
0 commentsPlease sign in to leave a comment.