Workgroups can be used to divide users into different groups or represent different office locations or branches of the business. Most OASIS functions can be controlled on a workgroup basis. This article will explain how to create a workgroup in O4.
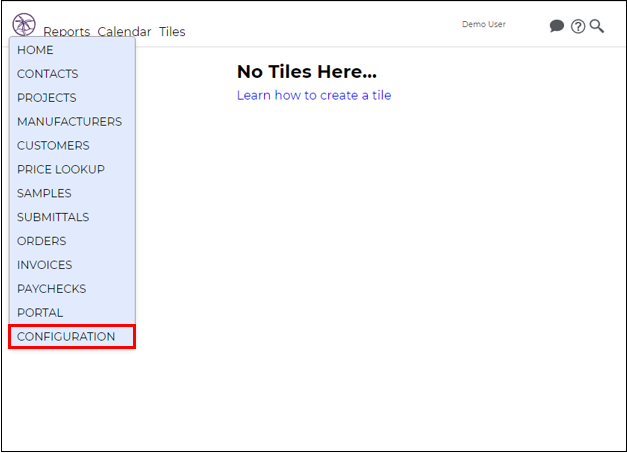
1. Click the ![]() icon.
icon.
2. Select Configuration from the drop-down list.
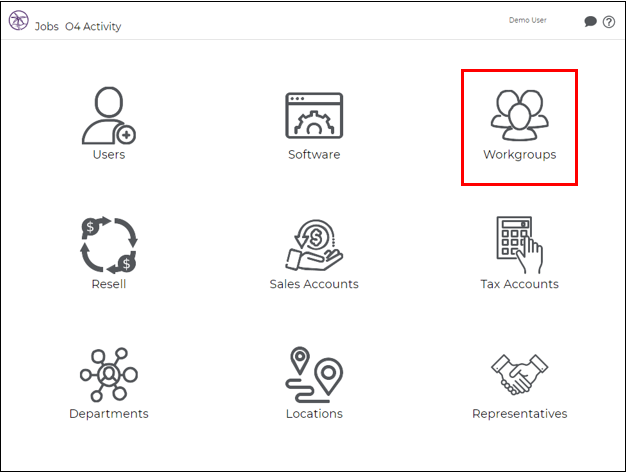
3. Click Workgroups.
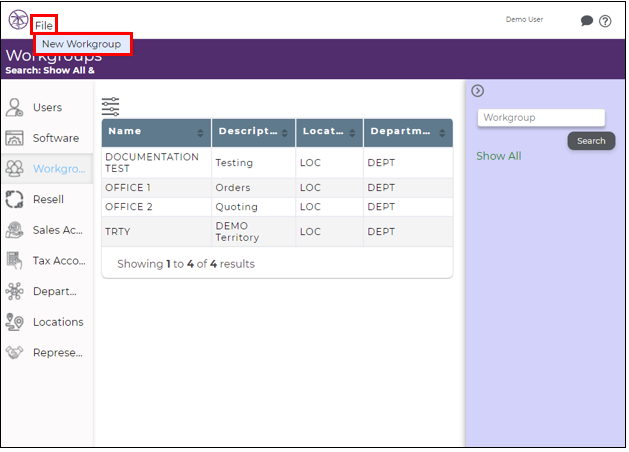
4. Click File, then select New Workgroup from the drop-down list.
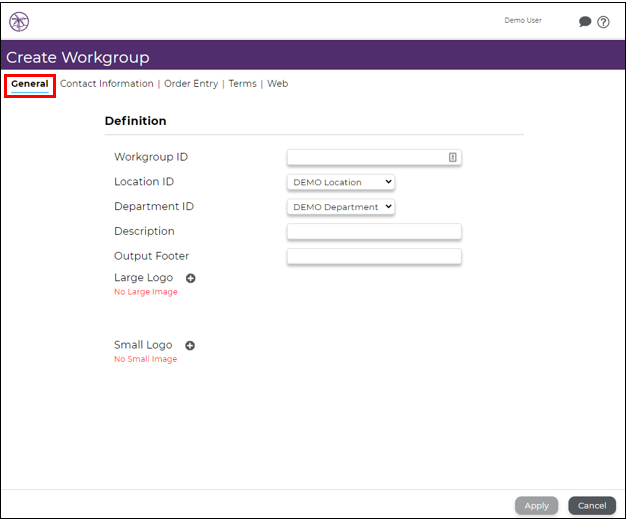
5. The Create Workgroup page will appear.
The General Tab
Use this tab to fill out general information about the workgroup.
- Workgroup ID- this will show as the prefix to all quotes and orders within this workgroup.
- Location ID- the workgroup's location.
- Department ID- the workgroup's department.
- Description- a description of the workgroup.
- Output Footer- a single line of text that will display at the bottom of a quote or an order.
- Large Logo- used on reports (max size is 504 x 72 pixels). Click
 to add a logo.
 - Small Logo- used on transaction forms (e.g. orders, quotes, submittals, etc.) to save space for the material being ordered or quoted (max size is 216 x 54 pixels. Click to add a logo.
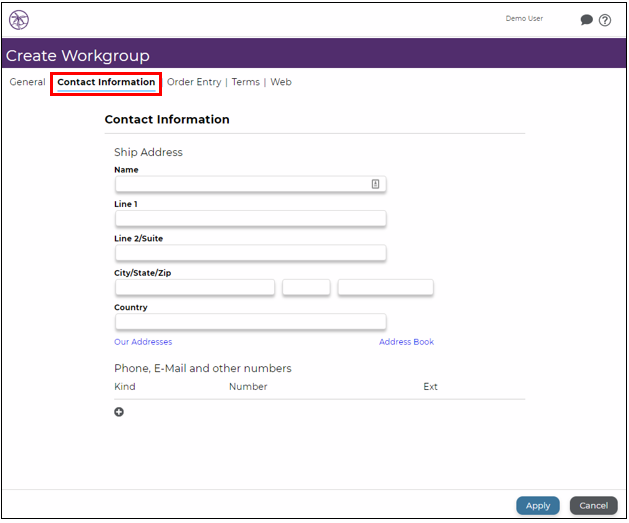
The Contact Information Tab
Use this tab to fill in contact information for the workgroup.
Ship Address
Enter the address, or use Our Addresses or Address Book to auto fill the information.
- Our Addresses- use a workgroup's address for the workgroup
- Address Book- use a customer's or manufacturer's address for the workgroup
Phone, E-Mail, and Other Numbers
Click  to add the kinds that are set up in customer configuration.
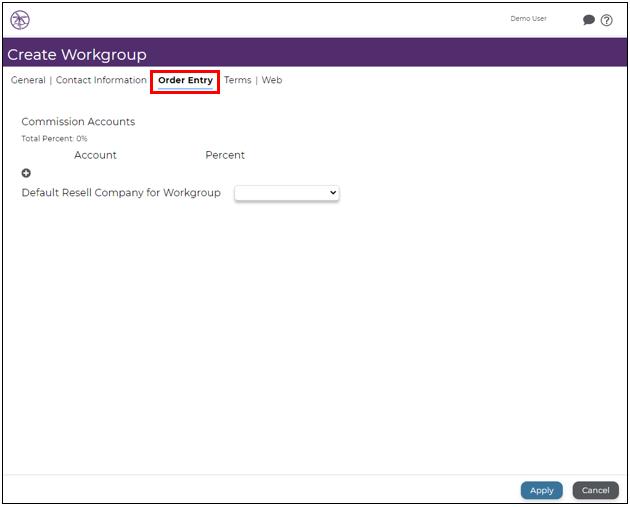
The Order Entry Tab
Use this tab to set default earning percentages for commission accounts and designate the default resell company for the workgroup.
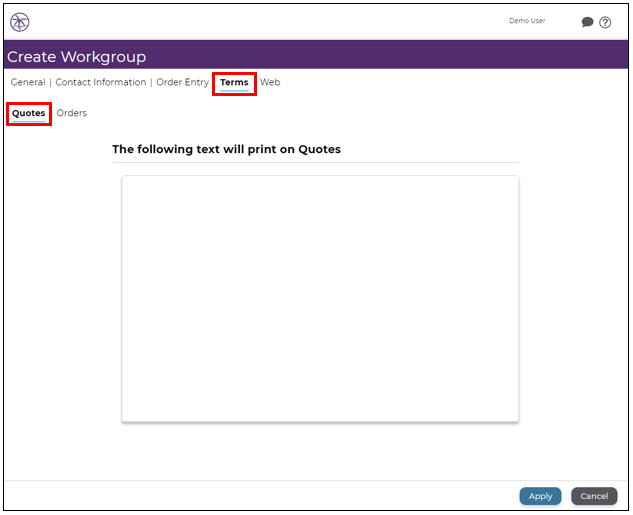
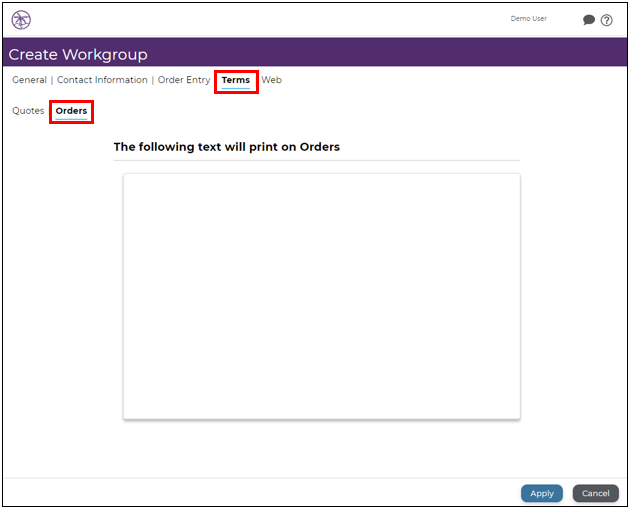
The Terms Tab
Use this tab to enter terms for quotes and orders. This will appear on every transaction created within the workgroup.
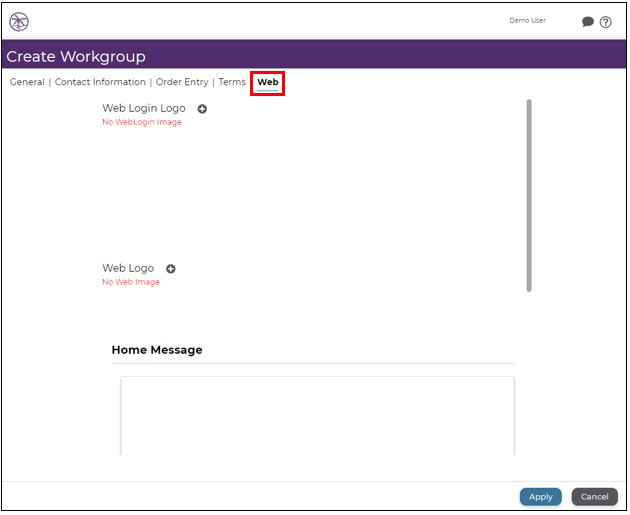
The Web Tab
Use this tab to configure the login and welcome screens for the customer portal. For more information, click here.
6. Click to create the workgroup.
Comments
0 commentsPlease sign in to leave a comment.